Sunday, December 18, 2011

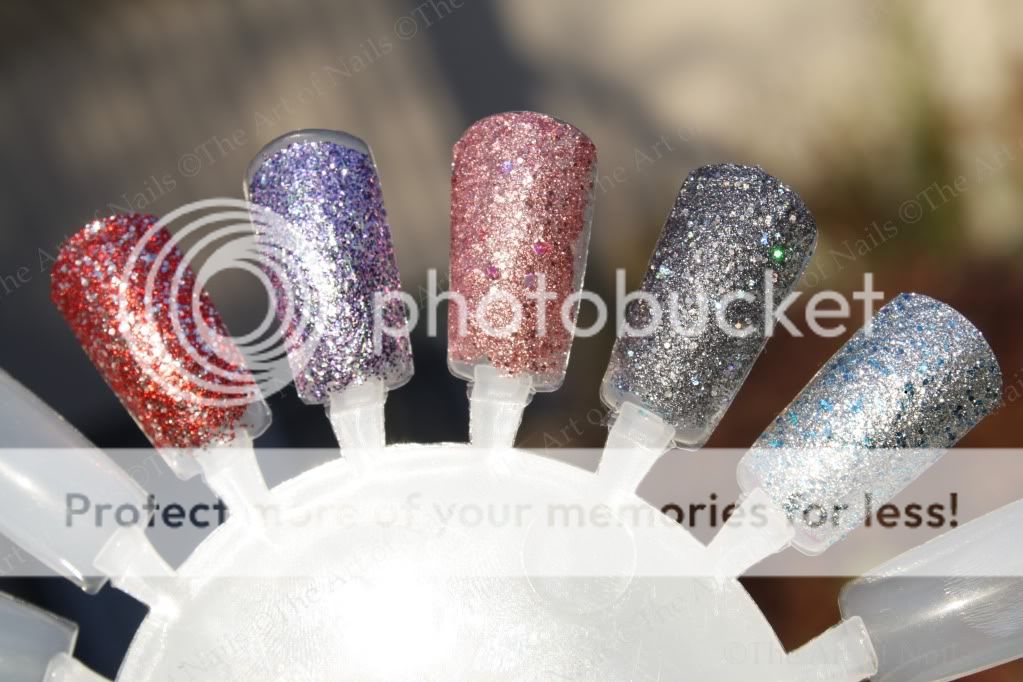
China Glaze Eye Candy

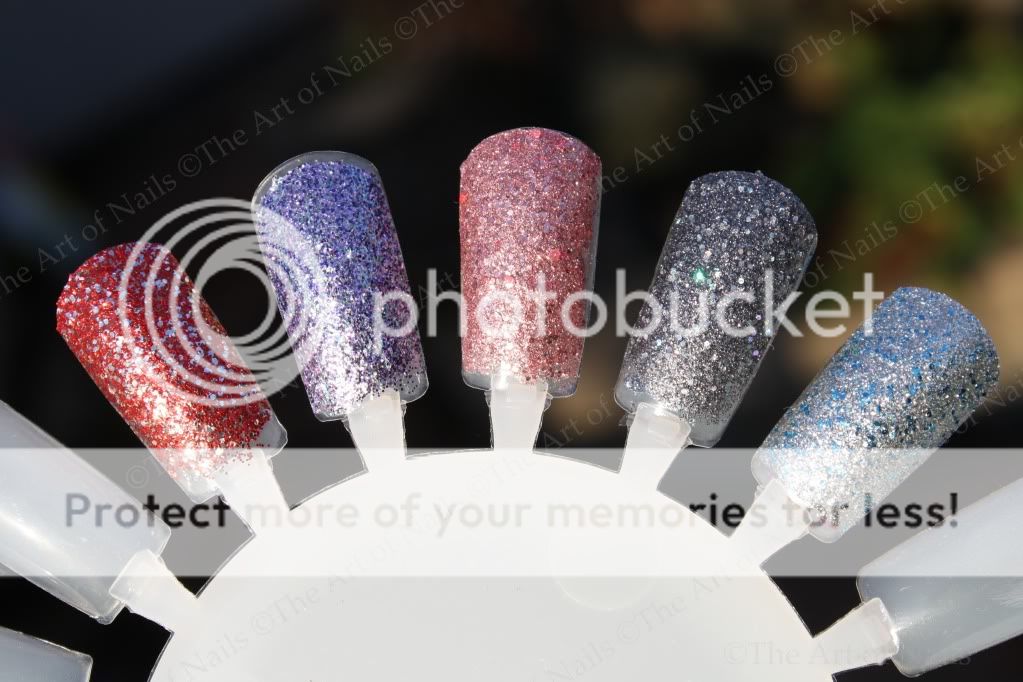
From left to right: Love Marilyn / Marry a Millionaire / Material Girl / Some like it haute / Lorelei's Tiara
Missing from nail wheel: Blonde Bombshell

Love Marilyn: Red glitter polish with red fine glitter and small silver hexagonal glitter
Marry a Millionaire: fine light purple glitter polish mixed with gold, green, and light purple tinsel glitter
Material Girl: pink glitter polish with pink fine and hexagonal glitter
Some like it haute: Dark blue glitter polish with blue fine glitter and holographic hexagonal glitter
Lorelei's Tiara: Silver glitter polish with silver fine glitter and blue hexagonal glitter

The formulation on these China Glaze polishes were great. It only took 2 coats for each of them to be fully opaque and the glitter was quite dense. These are super festive and I am happy to add them to my collection! I have already used them for gradient designs here and here. If you are a glitter lover, I would pick up this set. My favourites from this set are Material Girl and Lorelei's Tiara.
Polishes were sent to me for review. All opinions are my own.
Pin It Now!

Friday, December 16, 2011

Festive Green Gradient Friday

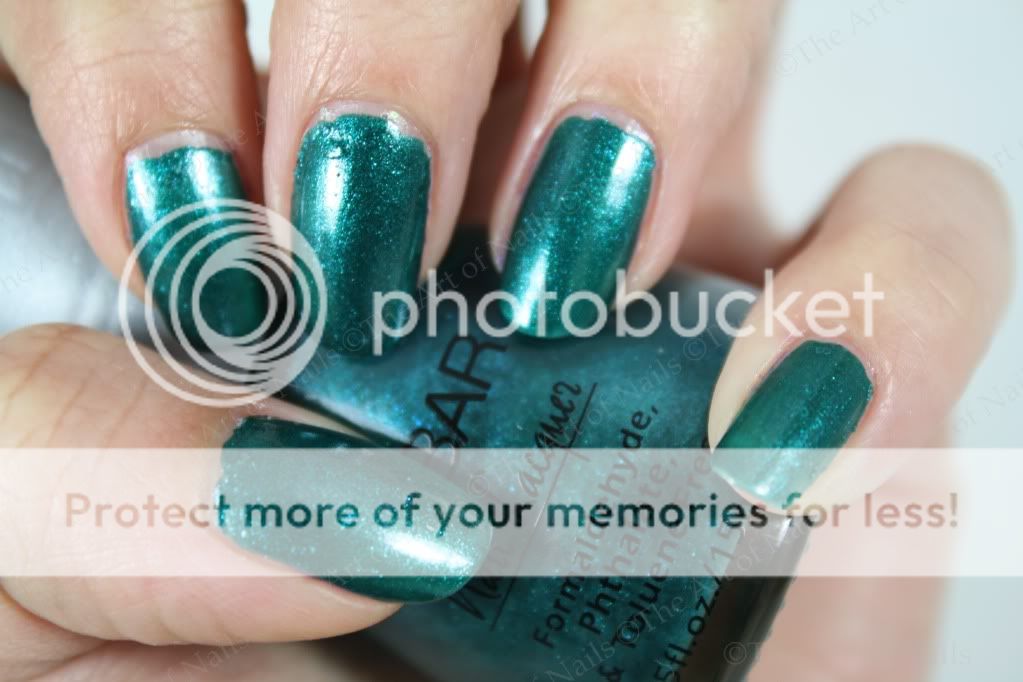
The holidays are near, so I decided to try a festive green gradient Friday. I used one coat of Nubar Earth as my base color. It is a pretty shimmery teal green with teal sparkles and applied well. Next, I sponged on Essence Lime up! on my tips. Finally, I blended this manicure together using China Glaze He's going in circles, which is a light green holographic polish. I added some dots on the tips using Wet n' Wild Red Red and Sally Hansen White On. I stamped 2 festive bows on using fauxnad plate m59.
Hope this starts off your holidays with a smile!
Pin It Now!

Thursday, December 15, 2011

Polished Style: Studded

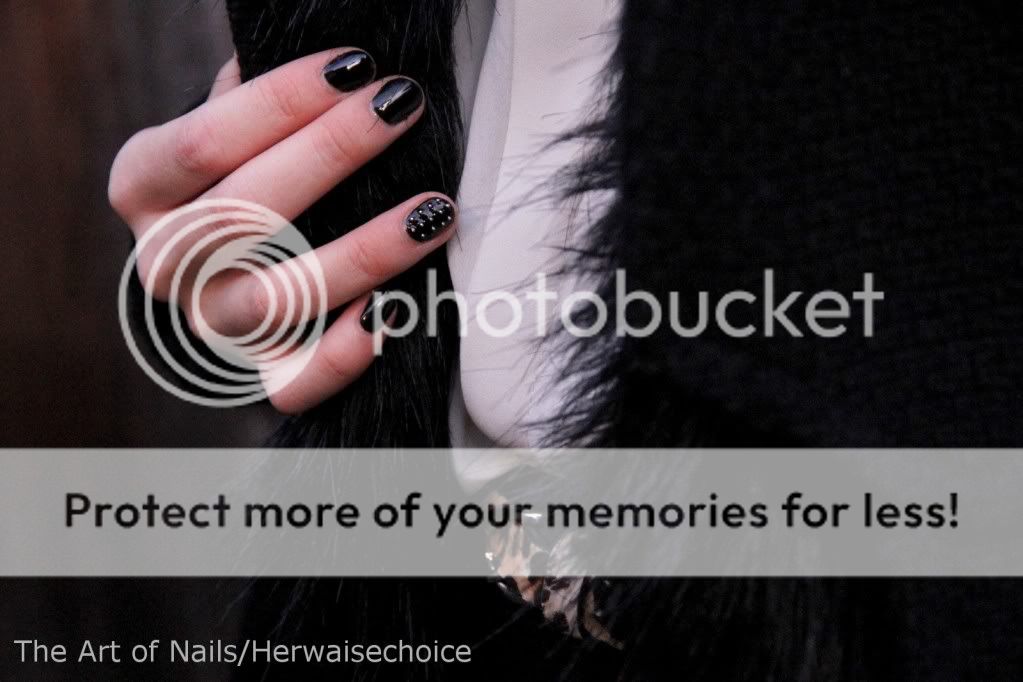
I am very excited to announce a new feature on my blog in which I will be collaborating with my friend Jen from herwaisechoice. She runs a very stylish fashion blog and her outfits are always styled impeccably. This feature will show you the pieces the manicure was inspired by, how the nail design can be worn in real life, and tutorials on how to create it yourself! I hope you will enjoy this feature as we are having lots of fun doing this! As all of you polish addicts know, your manicure is a great way to accessorize your outfit, so we are happy that we will hopefully be able to give you some ideas to do this. 
From left to right: OPI Black Onyx / Martha Steward microbeads in Florentine gold / Borghese Base & Top Coat
The look is pretty simple yet stunning. Here is a step by step tutorial.

Prep: Start off by painting your fingers with a black base coat. I used 2 coats of OPI Onyx.

1.  Choose an accent finger. Use a top coat (preferably not quick drying) and brush a thin layer on top.
2. While the polish is still wet, use tweezers (or an orange stick with a bit of clear polish at the end) and place the microbeads in a straight line down the middle of the nail.
3. Once you have your middle line in place, you can add either 1 or 2 lines on each side, depending on your preference. Alternate the beads and place each new bead beside but between two other beads. If you do this line by line, you will get the best result!
Seal this all off with a top coat and you are done! Easy right?

Hope you enjoyed week 1 of Polished Style. There will be more to come in the near future! For more clothing pairing options and everything fashion related, visit my friend Jen! Any suggestions for future posts are always welcomed. 
Pin It Now!

Tuesday, December 13, 2011

Dark Brown Sparkle

Here are some swatches for the base color I used from last Friday’s gradient. Glitter Gal Dark Brown Sparkle is a stunning chocolate brown holographic polish that applied very smoothly. It was opaque in 2 coats and adding a top coat doesn’t diminish the awesomeness. This is the first Glitter Gal polish I have tried, and I am happy to say it won’t be the last. This polish is just amazing.

PS – something exciting will be unveiled Thursday! Stay tuned.

Polish was sent to me for review. All opinions are my own.
Pin It Now!

Friday, December 9, 2011

Cozy Gradient Friday

Chestnuts roasting on an open fire.
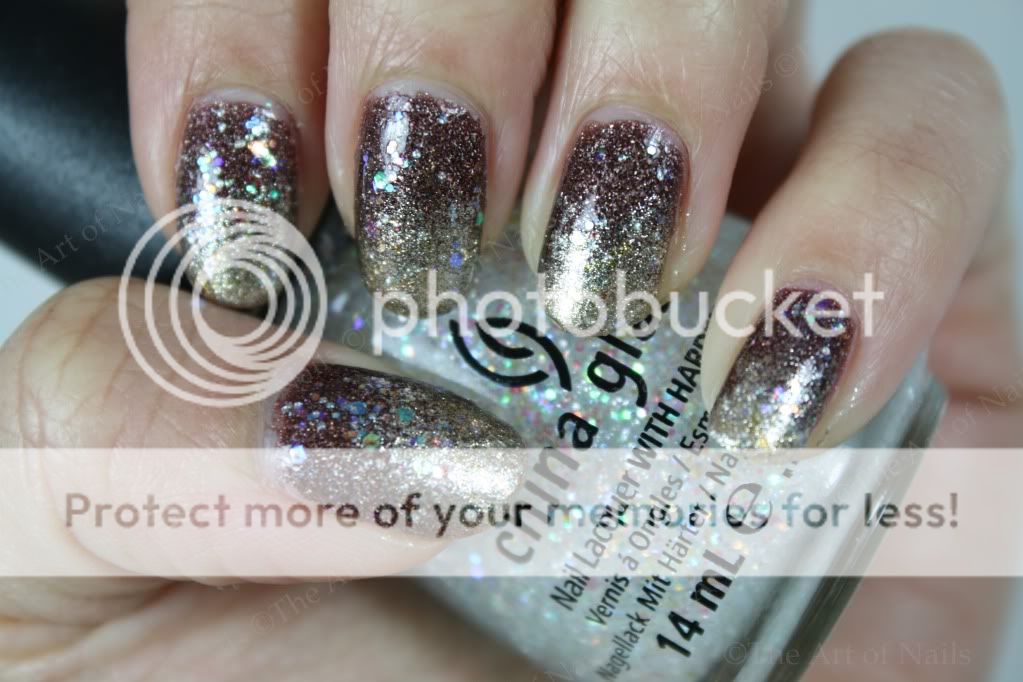
Those lyrics were stuck in my head this week because Christmas songs are playing everywhere. This inspired me to make a warm, cozy, chestnut colored gradient for this Friday, so I hope you like it. I started off with 2 coats of Glitter Gal
Dark Brown Sparkle which is a chocolate holographic brown polish. Next, I sponged on Revlon Gold Coin which is a foil gold polish. Lastly, I dabbed on China Glaze Cheers to You on the tips. I blended this in using a coat of China Glaze Snow Globe and sealed it off with CND Super Shiney.
Keep warm everyone!
Pin It Now!

Tuesday, December 6, 2011

The Wyndham Collection

Here is the 2nd nails inc. special effects overglaze polish set that I picked up from Sephora. This one is called The Wyndham Collection. The base color it comes with is a dark green black polish called Kensington. It applied smoothly and was opaque in 2 coats. The effect polish for this set is obviously called The Wyndham. This effect is a green-blue flakie polish and is oh-so-pretty. I had more success, a few day later, capturing the blue flakies in the sun. I used 2 coats for the flakies and I liked how it looked. Overall these nails inc. sets pleased me as it helped me add some flakies to my collection. Would you pick any of these sets up? 
Pin It Now!

Friday, December 2, 2011

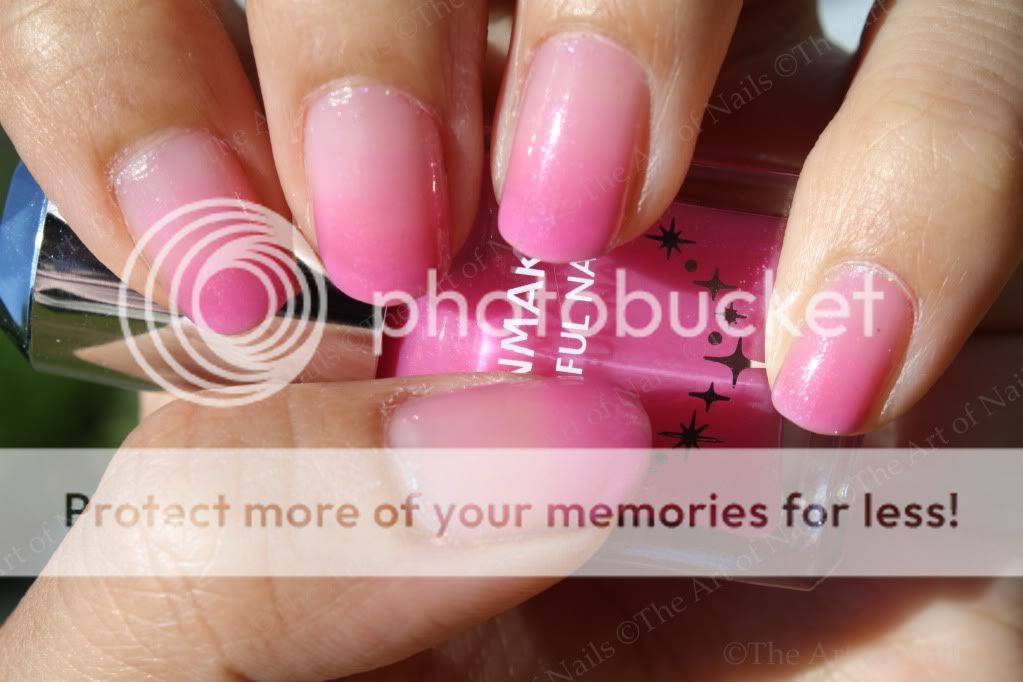
Gradient Friday Recap


Pin It Now!