Friday, September 30, 2011

Faux Gradient

For today's gradient Friday, I am going to show you a super easy way to do your nails to LOOK like a gradient. If you do not have time to spend on sponging/mixing, this will be the perfect way for you to put on a gradient manicure. I used Claires MOOD Color Changing polish in earthy/happy, a bright neon green and lime colored polish. The formulation on this was acceptable and it took 3 thin coats to be opaque. The brush left something to be desired as it left some streaks that was easily hidden after another coat.

Now this is how you get your gradient effect, apply it to your nails and wait. Your polish will change to a darker green (happy) near the tips of your fingers, leaving you a nice looking gradient with half the work. This polish is actually heat activated and dries matte. Therefore if you want it shiny, please remember to add a top coat. Hope this helps someone out there who wants a gradient with less hassle.

Pin It Now!

Wednesday, September 28, 2011

Ladybug party

I was invited to a cute ladybug themed party recently, so I thought it was only suiting that I did a mani to match! I used Zoya Carmen (swatch seen here) as my base coat and then used Milani Nail Art in Black to draw my ladybugs. I used Sally Hansen Nail Art pens in white to add the dots. I thought my thumb looked a little bare, so I added a leaf using Milani Nail Art Green Sketch and Black.

I took some pictures of the party favors and cupcake decorations. They are all homemade! Arent they adorable? Thanks so much for reading. It has been a crazy week.


Pin It Now!

Friday, September 23, 2011

Nails Inc. Gradient

Today's gradient Friday is done using all Nails Inc. products to celebrate their release into Canada at select Sephoras. I used 2 coats of Jermyn Street, a pretty cream greyish beige polish with a hint of rose pink. The formulation was great and it applied very smoothly.

Next, I sponged on Porchester Square, a creamy muted mushroom taupe polish, on my tips. Finally, I stamped on a stripe design using Fauxnad m69 with The Thames, which is a creamy concrete grey polish.

I really like this neutral colors for the fall and I am glad I picked this beauties up! What Nails Inc. colors are your favourites? I would love to know!


Pin It Now!

Wednesday, September 21, 2011

OPI Rainbow Connection

Here is the last polish I have from the Muppets inspired OPI collection, Rainbow Connection. This is truly the definition of glitter bomb in a bottle. Rainbow Connection is a clear based polish with multicoloured (orange, silver, bright blue, magenta, and grass green) coarse glitter and various sizes of multicoloured hexagonal glitter. I used 3 coats in my pictures to make it somewhat opaque. Formulation was smooth but the placement of hexagonal glitter is really random and you might want to brush slower to deposit more. Next I decided to layer this polish over various colors (Index: Gosh Silver; Middle: Nails Inc. Taxi Cab; Ring and Pinky: Pepe's Purple Passion.) Finally, I decided to layer polishes on top of Rainbow Connection (Index: Sinful Colors Scandal; Middle: OPI Dating a Royal; Ring: Color Club Total Mystery).

My favourite that I have tried out of this collection is definitely Excuse Moi!. Rainbow Connection is a fun glitter if you do not have anything similar and the rest of the collection is fun too. I am overall quite happy with this OPI collection.

This collection is going to released November 2011. Keep your eyes open!

Polish sent to me for review. All opinions are my own.


Pin It Now!

Monday, September 19, 2011

OPI Gone Gonzo!

Next up from the Muppets inspired OPI line is Gone Gonzo!, an aqua blue micro glitter polish. The formulation on Gone Gonzo! is very similar to Divine Swine. This polish also has silver hexagonal coarse glitter and took 3 coats to be opaque. Aside from the color, everything about these two polishes is the same (same consistency, same formulation, and same finish). I used it by itself on my index and ring finger. Then I tried layering it over different shades of blue. On my thumb, I layered it over Essie Mesmerize. Next, on my middle finger over Color Club Otherwordly and finally on my pinky over Sally Hansen Blue Me Away!.

I liked it best over the darker shade of blue, Essie Mesmerize. What are your thoughts polish addicts?

Polish was sent to me for review. All opinions are my own.

PS- You may have noticed that you are no longer able to right click on my page. This is due to the fact that someone is stealing my posts and putting them on their own blog : ( Sorry for any inconvenience, but I work hard on these posts.


Pin It Now!

Sunday, September 18, 2011

Excuse Moi!

Today I will be showing you another polish from OPI inspired by Disney's Muppet collection. This gorgeous dark glittery pink is called Excuse Moi! The formulation on this was smooth and this polish was a lot more opaque than Divine Swine. I needed 2 normal coats to achieve opacity and the color is fabulous. This polish is full of multicoloured coarse glitter and bright pink fine glitter. The effect just blows me away. I used this polish on its own for my index and ring finger and tried layering it over a red (Color Club Velvet Rope) on my thumb, middle, and pinky finger. The addition red base coat does not really add much to the effect but it does make the removal process a bit easier. I would definitely wear this by itself, whereas OPI Divine Swine I would choose to wear it layered. 2 more polishes from this collection to show you soon! So far, so pretty...

Polish was sent to me for review. All opinions are my own.


Pin It Now!

Saturday, September 17, 2011

OPI Holiday Lacquers inspired by The Muppets

Hi Polish Addicts! I am so excited to show you some colors from OPI upcoming holiday collection inspired by Disney's Muppets movie. First up is Pepe's Purple Passion swatch, which is a very pretty deep purple polish with a red tint and reddish purple sparkles. It applied beautifully and was opaque in 2 coats.

Next up is OPI Divine Swine. This is a stunning magenta polish with magenta glitter and silver hexagonal sequin. I layered this on top of Pepe's Purple Passion on my index and ring finger. Picture 3 will show you how Divine Swine looks when more coats are added. On my thumb, I applied one coat of Divine Swine; on my pinky I applied 2 coats, and finally on my middle finger I applied 3 coats which is really close to being opaque.

In my final picture, I finished off the thumb and pinky so that they were 3 coated and topped this all off with Seche Vite for a smooth finish. I love these polishes and I can see myself wearing them a lot this Christmas!

Stay tuned for 3 more polish from this OPI Muppets inspired holiday line! Swatches of OPI Rainbow Connection, Gone Gonzo!, and Excuse Moi will be up soon!

PS - A tip for removing glitter polishes is to apply either a thin layer of top coat/cuticle oil and press down with a cotton pad with nail polish remover before it dries. Hold onto it for around 5 seconds and then wipe off!

Polishes were sent to me for review. All opinions are my own.


Pin It Now!

Friday, September 16, 2011

Urban-Night Gradient

Colors used: China Glaze Urban-Night (2coats), Nails Inc. Black Taxi (sent for review)


Pin It Now!

Wednesday, September 14, 2011

Pink Blush Diamond

Hurray! I finally got my hands on a Sally Hansen Nail Prism! I have read so much about them so I wanted to try them out for myself. Sally Hansen Nail Prism Pink Blush Diamond is a soft pink holographic polish that was opaque in 3 medium coats. The formulation was quite smooth and the dry time was decent. This reminded me of OPI DS Reserve but a tad bit lighter. This is quite nice and I am glad to add it to my collection. I am just adding the finishing touches on the giveaway. I promise it will be up by the end of this week!


Pin It Now!

Monday, September 12, 2011

Rainbow Split

It has been super sunny this past week so I decided to do a pretty rainbow manicure. I used Color Club Velvet Rope, Color Club You got Soul-ar, OPI Lemonade Stand by your Man, Color Club Glitter Envy, Color Club Otherworldly, amd Color Club Secret Agent. I topped this all off with Color Club Starry Temptress Topcoat.

Formulation on all of these was quite good and most of them are from Color Club Starry Temptress line. Thanks for dropping by polish addicts!


Pin It Now!

Friday, September 9, 2011

Basic Gradient

Today I am going to show you a basic but still pretty gradient. All you need is one color, preferable a polish that is more on the sheer side with a bit of sparkle. I used Canmake 37, a pretty medium sparkle jelly pink. First, you paint one layer on and let it dry. Next, you paint another layer on but only on the top 2/3 of your nail. Finally, paint your 3rd layer on the top 1/3 of your nail and you will have a really nice gradient. The more parts you split you nail into, the smoother the look of your gradient. Keep in mind however that it will also result in more layers! I used 4 layers in mine and topped it off with Seche Vite. Hope you enjoyed.


Pin It Now!

Thursday, September 8, 2011

It's ShowTime

Nothing says showtime like silver holographic polish. It is just plain mesmerizing. I bought this Sally Hansen Showtime off Polish Obsessed and I am so glad I did! Sally Hansen Showtime is a gorgeous linear silver holographic polish. It is a bit on the thin side, so it needed 4 thin coats to be opaque.

How does it compare to China Glaze OMG? See for yourself. I used OMG on my index and ring finger. The amount of holo just does not compare. How did China Glaze make their old formulation so holo-y? I love it. Please bring it backkkk. If any polish addicts out there has an extra bottle of any of the old China Glaze Kaleidoscope and OMG line and they are willing to part with it, let me know. For now, I will stare at my Showtime nails.


Pin It Now!

Tuesday, September 6, 2011

Shoreditch Shimmer

I was super excited when I heard that Nails inc. was going to start selling their collection at Sephora. I kept waiting for it to come in and finally I got my hands on some. Nails inc. Shoreditch is a gorgeous gorgeous jelly pink polish that was opaque in 2 coats. You can probably get by with one, but you know how I like to have at least 2. Formulation was smooth and the brush was easier to handle than I thought. I had heard not so great reviews about the brush, but it applied pretty well. I love love love this color. Can you see the gloss on the finish? This is WITHOUT topcoat. Amazing.

I also got Nails inc. electric lane holographic top coat and layered that on top of this. How can anyone pass up a holo top coat? I definitely can't. You can see the radiant holo glitter working its magic. I am quite please with this too although I wish the holo would blend with the base color more...maybe I can try applying it wet next time.

On another note, I finally reached 200 followers! Its been a little bit over a year and I cannot express how grateful I am to have you guys reading my blog. Thanks so much! Giveaway details will be up shortly just so I can say thank you to all you wonderful people.


Pin It Now!

Friday, September 2, 2011

Fall Gradient Friday

To welcome the start of September, I have chosen to do a more earthy toned gradient. I started off with 2 coats of OPI You don't know Jacques!, a gorgeous taupey brown color that everyone should have in their collection. Next I mixed a bit of OPI You don't know Jacques! and SpaRitual Mystic together for my middle gradient color. This is a great trick to finding the perfect middle gradient shade for the perfect blend! Finally, I completed my gradient by sponging on SpaRitual Mystic, a light beige color, on my tips and then topped it off with CND Super Shiney.

I really like this gradient because its basic and simple but still has a bit of style. Hope you are enjoying the start of this Labour Day weekend Polish Addicts!

PS – I am holding onto Julep Hand Scrub in one of my pictures, it makes my hands really smooth!


Pin It Now!

Thursday, September 1, 2011

Hot Summer Shades

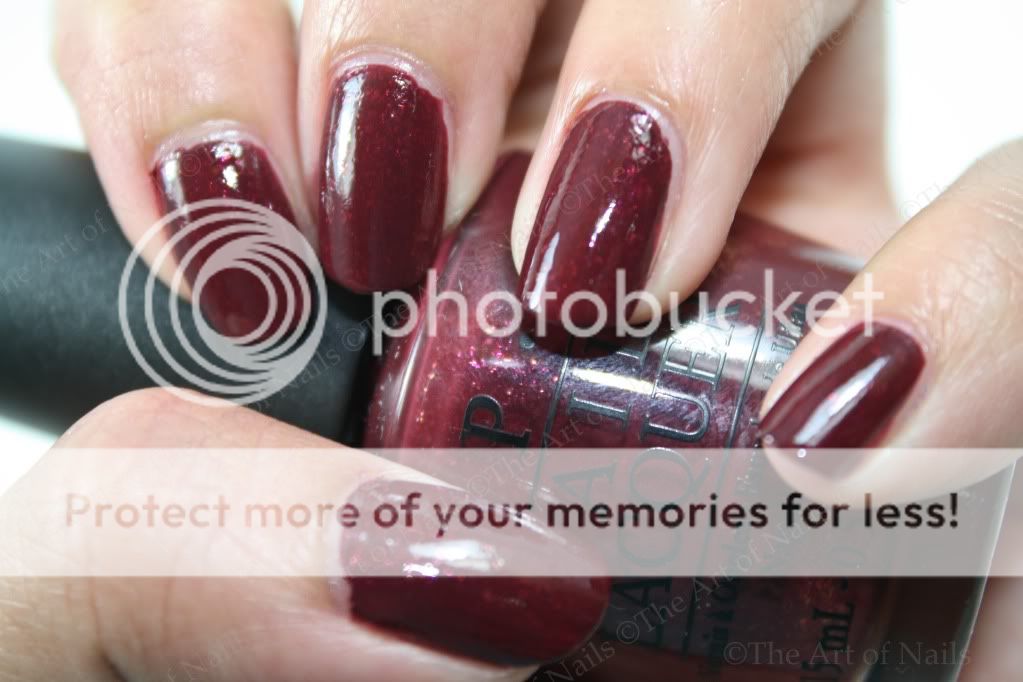
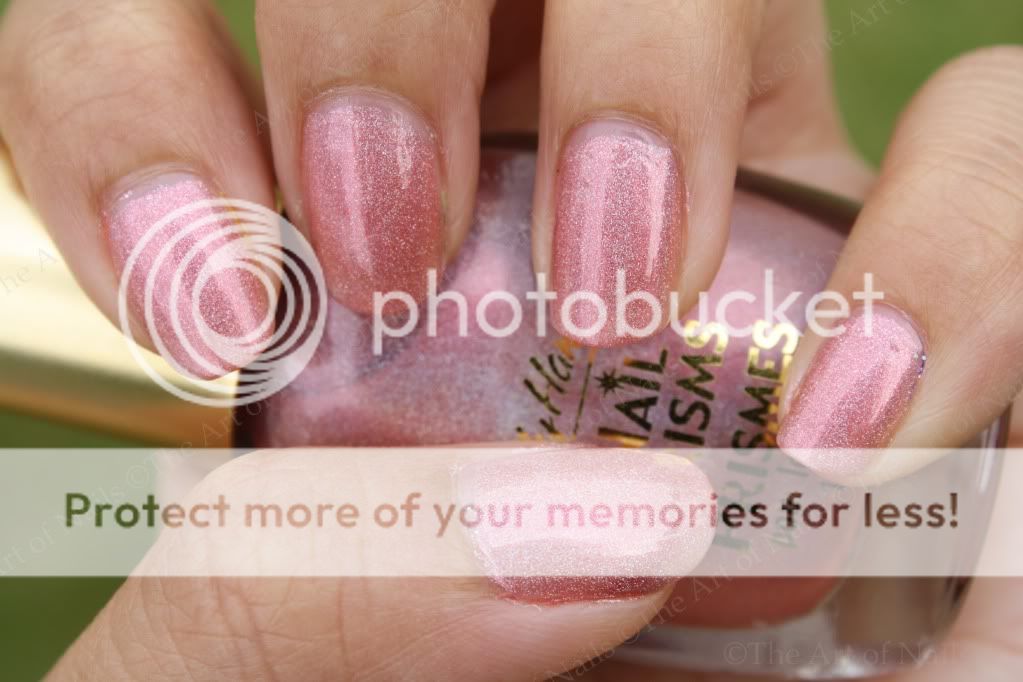
Although summer is coming to an end, these polishes that I am about to show you will definitely bring back some fond memories. Dr.'s Remedy enriched nail polish is a doctor-formulated polish brand that is 3 Free and also contains enriched ingredients to strengthen your nails. It is said to contain tea tree oil, vitamin C & E (which helps make stronger nails), and wheat protein (to increase shine). Their summer line is packed full of fun bright colors. Now onto the swatches!

First up is Nurture Nude Pink, a sheer peachy pink shimmer that took 4 thin coats to be somewhat opaque. This formulation was not my favourite as I found this to be quite runny and the pink shimmer is not seen that much on the nail.


Next is
Lovely Lavender, a pretty lavender purple that was smooth and opaque in one coat. You know I love my purples! Win.


Following this is
Tranquil Tangerine, a shimmery bright orange color. The formulation on this was average and it took 3 coats to be opaque.


Glee Gold
is up next and this formulation is very similar to the pink. It was a bit less runny but still a little runny and sheer. This took 4 thin coats to be opaque. I tried layering over a black to see if it would pop, but it does not seem to bring out the color at all.


Lastly, my favourite out of the whole collection is
Bold Baby Blue. It is a pretty shimmery blue that took 2 coats to be opaque and the color was oh-so-pretty. I am not even a blue polish type of girl and I really like this.


Overall, their collection was okay and
Tranquil Tangerine is quite unique in its bright shimmery orange color. I still like Dr.'s Remedy cream colors more than their shimmers and I find the formulation much better. You can purchase their polishes on the website here and like their Facebook page here.

Polishes were sent to me for review. All opinions are my own.

Pin It Now!