Showing posts with label Wet N' Wild. Show all posts

Friday, October 26, 2012

Gradient Friday : Halloween Edition

Here is a ghoulish gradient mani for Halloween. For the base, I used China Glaze Midnight Kiss. Next, I sponged on China Glaze Urban-Night and finished off the tips with Fantasy Makers (Wet N' Wild) Black Magic. I stamped on some spooky designs using my BM plates and Konad polishes. For a spookier look, I used nails inc. matte topcoat westminister bridge. 
Pin It Now!

Friday, May 18, 2012

Gradient Friday : Crackle

Base color  Wet N' Wild Black Cream / Gradient Colors Nicole by OPI Aquamarine Texture,  Amethyst Texture, Quarts Texture

Nicole by OPI products were sent to me for review.
Pin It Now!

Friday, May 11, 2012

Gradient Friday : Jewels for Your Highness

Simple glitter tip gradient / Base: Canmake 38 / Gradient tips: Wet n' Wild Jewels for Your Highness (purple based glitter polish with aqua, pink, gold, silver, and green round glitter)
Pin It Now!

Friday, May 4, 2012

Gradient Friday : Ocean Waves

Base color Canmake 53 / Sponged tips with essence Walk on Air / Top Coat Wet N' Wild Bow in my Presence (Coloricon collection – glitter polish) 
Pin It Now!

Friday, February 24, 2012

Gradient Friday: Falling Blocks

For this week's gradient, I started off with 2 coats of OPI Fly, which is a pretty teal cream polish. The formulation was good and it applied smoothly. Next, I sponged on China Glaze Kinetic Candy on the tips for a simple gradient effect. Finally, I used Wet N' Wild Black Crème to stamp on an image from Konad m73 plate. Don't they look like falling building blocks? Lastly, I sealed this mani off with a coat of Seche Vite. I also decided to try making earrings with my polish, and pictured below is a pair I made for my friend using OPI Fly and OPI Black Shatter. What do you think? 
Pin It Now!

Monday, February 13, 2012

Hearts are Fluttering

Here is another Valentine's mani I did over the weekend! I started off with 3 coats of Color Club Ready to Wear, a pink-gold duochrome polish. I used Wet N' Wild Kaleidoscope on my tips to add some glitter. Next, I painted some hearts using my dotting tool and Sally Hansen Madame X. I finished off this look with some pink jewels and a coat of Seche Vite. 
Pin It Now!

Saturday, December 31, 2011

Swirling around in candy cane dreams

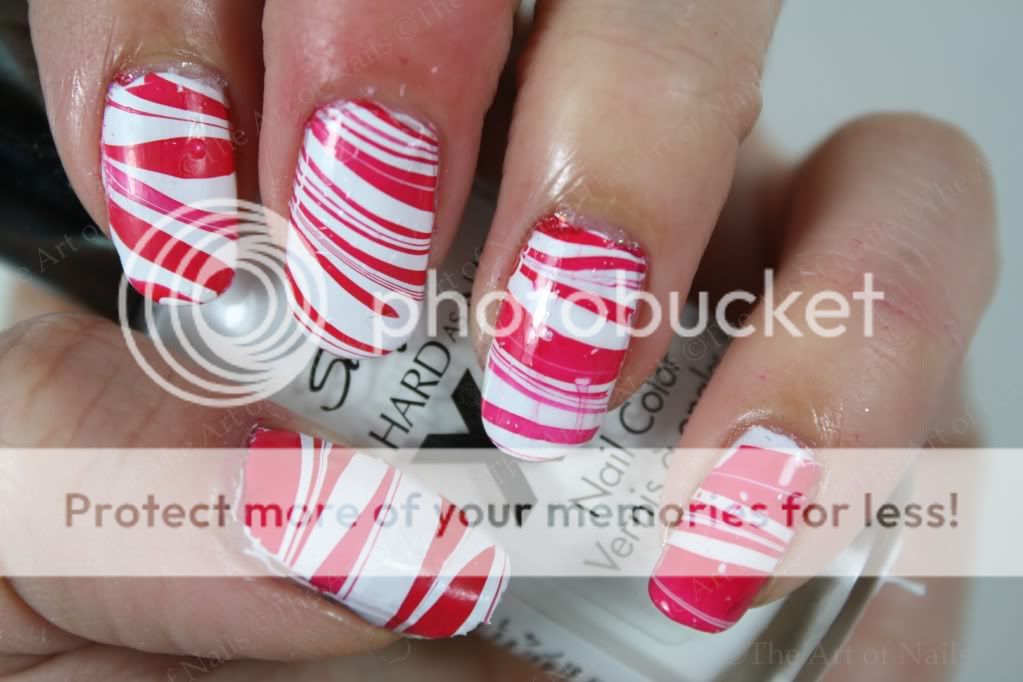
Hope all of you polish addicts got to take some time to rest and enjoy some time with friends and family. I know I did! As we end this year and start onto the next, I would like to thank each of you for continuing to read my posts! It has been a little over a year and I still love blogging as much, or even more, than when I first started. Today's design is a water marbled candy cane mani, which I hope you enjoy. I used Sally Hansen White On and Wet N' Wild Red Red for this mani. Have a wonderful new years. 
Pin It Now!

Friday, December 16, 2011

Festive Green Gradient Friday

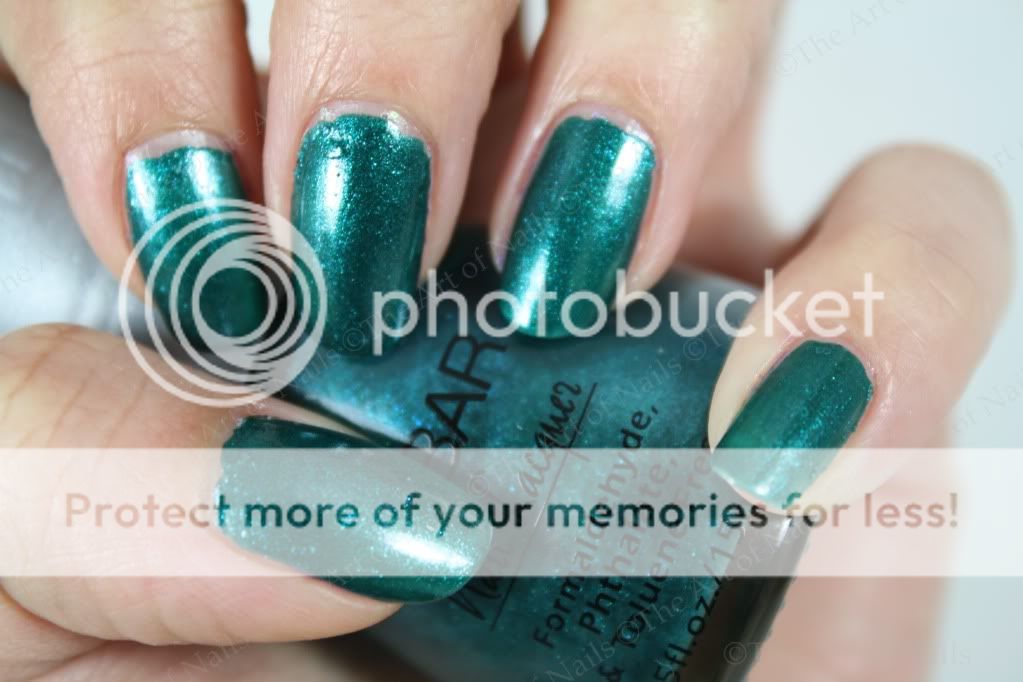
The holidays are near, so I decided to try a festive green gradient Friday. I used one coat of Nubar Earth as my base color. It is a pretty shimmery teal green with teal sparkles and applied well. Next, I sponged on Essence Lime up! on my tips. Finally, I blended this manicure together using China Glaze He's going in circles, which is a light green holographic polish. I added some dots on the tips using Wet n' Wild Red Red and Sally Hansen White On. I stamped 2 festive bows on using fauxnad plate m59.
Hope this starts off your holidays with a smile!
Pin It Now!

Friday, November 11, 2011

Let Us Remember...

Colors used: OPI Skull & Glossbones /  Loreal Resist & Shine #155 / OPI Steady as She Rose / Wet N' Wild Red Red / Sally Hansen Nail Art Pen Black / Seche Vite Top Coat - Gradient Friday
Pin It Now!

Monday, October 31, 2011

Spooky Night

Here is my design for today. I used OPI Hes My Boo on my thumb, index, and pinky. Next, I layered Wet N Wild Tangled in my Web on top. Tangled in my Web is a clear suspended polish with black hexagonal glitter.
On my middle finger I used OPI I only Date Werewolves as my base and drew a white circle using Konad White Polish. I used Sally Hansen Nail Art pen in Black to draw a jack-o-lantern face.
On my ring finger I used OPI Zom-body To Love, a glow in the dark polish, as my base and painted on the chevron tip using OPI I only Date Werewolves. I added a nail decal spider to finish off this look.
Have a safe and happy night everyone! Chocolates...here I come!


Pin It Now!

Sunday, October 30, 2011

Behind Closed Doors

Here is another simple but stunning Halloween manicure! I really like how this looks. I started off with one coat of Sally Hansen Black Out. Next, I layered on 2 coats of Wet N' Wild Behind Closed Doors, which is a red base polish with hexagonal and fine glitter. This polish is another one from their On the Prowl collection and the formulation was okay. You need to roll this polish a couple of times before you use it, otherwise the red hexagonal glitters don't end up on the brush. Thanks for reading!


Pin It Now!

Friday, October 28, 2011

Halloween Gradient

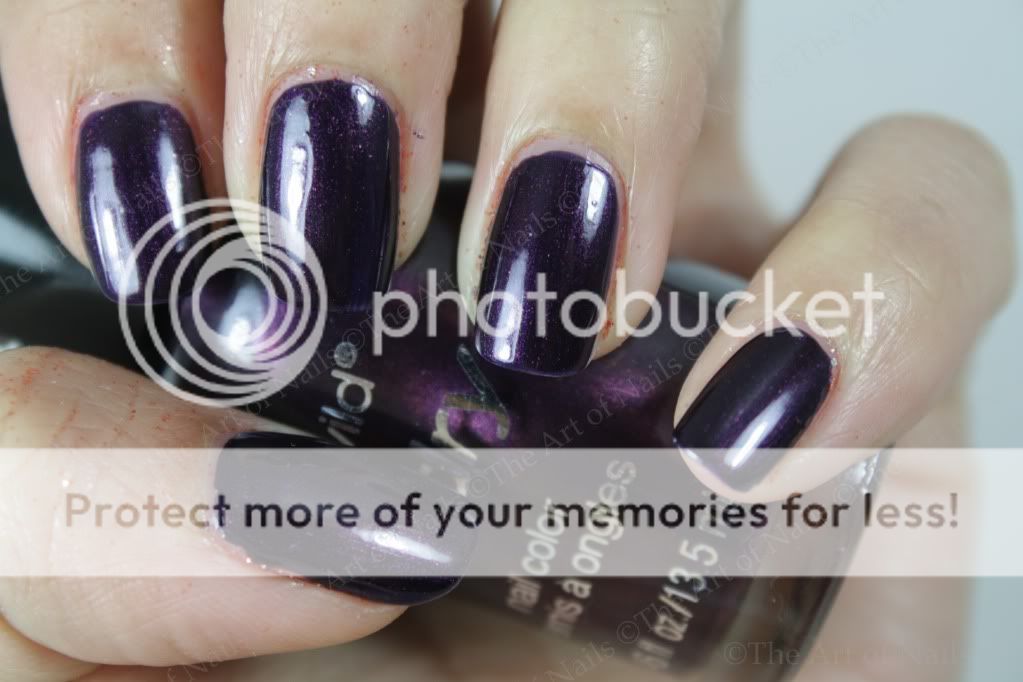
Here is my first Halloween nail design! I used 2 colors from Wet N' Wild On the Prowl collection. I also included some swatch pictures of each color as well. I used 2 medium coats for each polish and each covered quite well. The brushes are meh, and I do not really like them, but for 2.99 I can't really complain. The colors are GORGEOUS. Cougar Attack is a brown based polish with copper shimmer. Ready to Pounce is a dark vampy purple with magenta shimmer. I almost passed on this one like I passed on Jungle Fever and Ink Well, but am so glad that I didn't. This one is a beauty.

I used Ready to Pounce as my base coat and sponged on Cougar Attack on the tips. Finally, I used Konad White to stamp on a pumpkin and a bat. More designs to come!


Pin It Now!

Sunday, October 23, 2011

Sunday Snaps

New way to organize my scarves / Polishes from Wet N' Wild On the Prowl collection / Loreal Carbon Black Lineur Intense

Pin It Now!

Tuesday, August 23, 2011

Black is Golden

Here is a quick swatch of China Glaze Tarnished Gold again, this time over one coat of Wet n Wild Black Cream. The result looks a lot better. Win.


Pin It Now!

Friday, July 15, 2011

Gold and Red Gradient

Today's gradient Friday reminds me of Wonder Woman a bit, although it wasn't intended to. I used a dollar store gold glitter on the top 2 thirds of my nails and used China Glaze Ruby Pumps on the top third of my nails. I blended it together with Wet N' Wild Clear nail protector and then sprinkled some gold hexagonal glitter on top. I finished this look off with a coat of Seche Vite (sorry for the cuticle mess, I took these pictures pre-cleanup).

As always, Im open to any gradient color suggestions! So drop me a comment!


Pin It Now!

Tuesday, July 12, 2011

A Golden Find

Revlon Gold Coin is aptly named because the color is exactly that. It is a stunning gold metallic polish with a base of silver. The formulation was smooth and the polish was opaque in 2 coats. I really liked the color, but I thought I could make it pop more by adding a design to it. I used Wet N' Wild Black with an image from BM 224. Removal of the polish was a little bit of a hassle as it tends to live a bit of silvery glitter behind, but still the color is totally worth a little extra removal effort.


Pin It Now!

Friday, July 8, 2011

Stamping Gradient

Today for gradient Friday, I decided to do something different and make a gradient using my Bundle Monster plate design. I used 2 coats of Color Club Almost Famous as my base coat. Next on the design I chose I painted stripes of each color onto the plate. I started off with the lightest color, SkinFood PK004, a creamy light pink. Next in the middle of the design, I striped another line using Konad Special Pink Polish. Finally, to close off my stamping gradient, I used Wet N' Wild Red Red. After all the polish was on, I scraped off the excess starting from the darkest to the lightest polish and stamped it on. Voila! There you have it. Hope you enjoyed. I used BM-215 plate.


Pin It Now!

Saturday, July 2, 2011

Canada Day

In lieu of Gradient Friday, due to long weekend, here is a Canada Day simple design. Have a happy Canada Day everyone!

Pin It Now!

Friday, June 24, 2011

Metallic print gradient tutorial

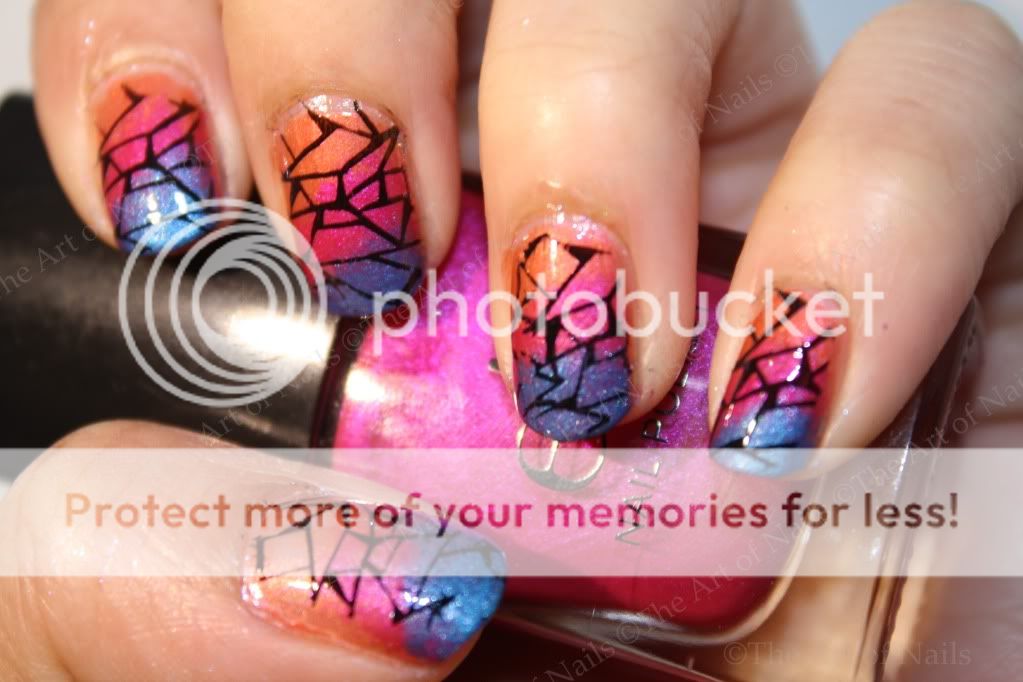
For today's gradient Friday, I have posted up a gradient tutorial that some of you have requested! Here is the tutorial for my neon print gradient. CLICK ON PICTURE TO ENLARGE.

Prep: a cosmetic sponge, 3 nail polish colors, paint on base coat

1. Sponge on your first color all over your nail. Press harder on the bottom of your nail and fade near the top.

2. Next, sponge on your next color diagonally on the top 2/3 of the nail. Again, press harder near the bottom and fade near the top of your nail.

3. Now it is time for your third color. Sponge it on diagonally on the top third of the nail and press down hard.

4. Put on a quick drying top coat and get your stamper and plate ready!

5. Stamp on your design. I used BM 208 with Wet n' Wild Black Crème.

6. Finally, seal it all with a top coat and clean up around your cuticle with an orange stick or cotton balls.

There is also a picture of how the manicure looks once it is completed. Hope this helps! Click here for the products used.



Pin It Now!

Friday, June 10, 2011

Canucks Gradient

Today is another gradient Friday! Polish addicts, can you guess what this was inspired by? For this week, I used a wet gradient method for this color combination. I used Wet N' Wild Hallucinate for my first coat, let it dry for a little bit, then layered on Sally Hansen HD Resolution on the top 2/3 of my nails, and finally on the top 1/3 of my nails I used Nicole by OPI Me + Blue, a shimmery dark blue. I added one more coat of Wet N' Wild Hallucinate and sealed this all with Seche Vite and CND Super Shiney to give it more of a jelly look.

Polish more soon!


Pin It Now!