

Showing posts with label SkinFood. Show all posts
Showing posts with label SkinFood. Show all posts
Friday, June 29, 2012

Sunday, April 8, 2012
Happy Easter

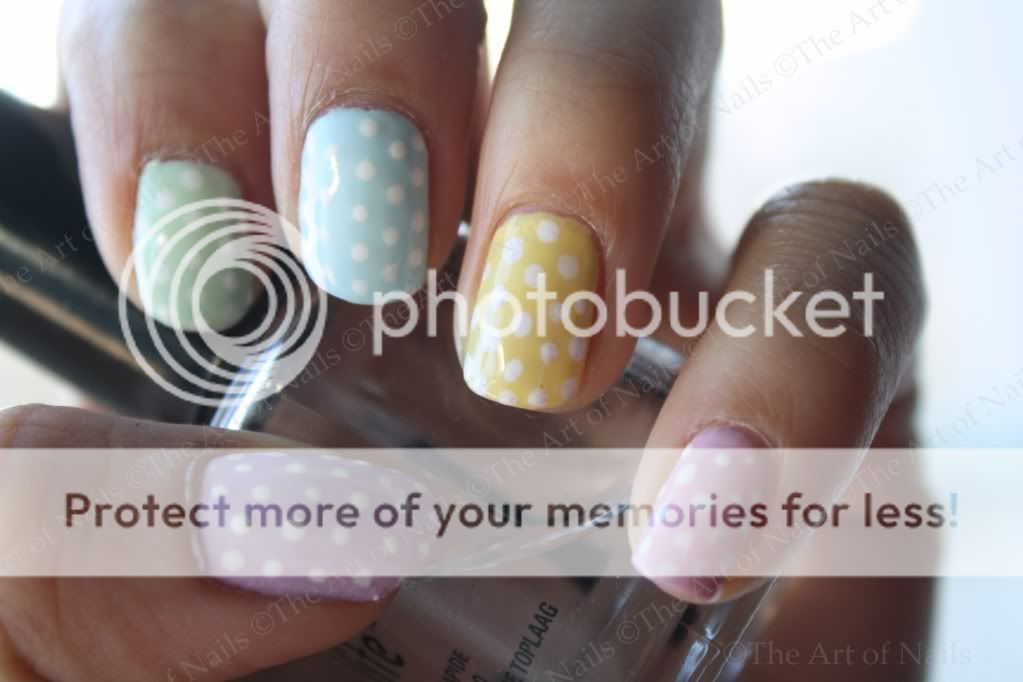
This
design was inspired by Cadbury mini eggs! My favorite (especially the ones with
crackle candy inside)! Dots were made using a dotting tool and Sally Hansen White On. Base color from thumb to pinky: China Glaze Sweet Hook / SkinFood BL005 / SkinFood BL001 / Essence Mellow
Yellow / China Glaze Something Sweet
Happy
Easter everyone.
Pin It Now!
Friday, March 16, 2012
Gradient Friday: Layering purple


Today's
gradient Friday is a layering gradient using Shu uemura PA 101, a reddish purple polish. I used to coats of SkinFood Crystal Pearl Top Coat to blend the layers in
more. I will be heading to vacation for the next 2-ish weeks but I will try and
post some updates!
Friday, November 4, 2011
Shades of Pink
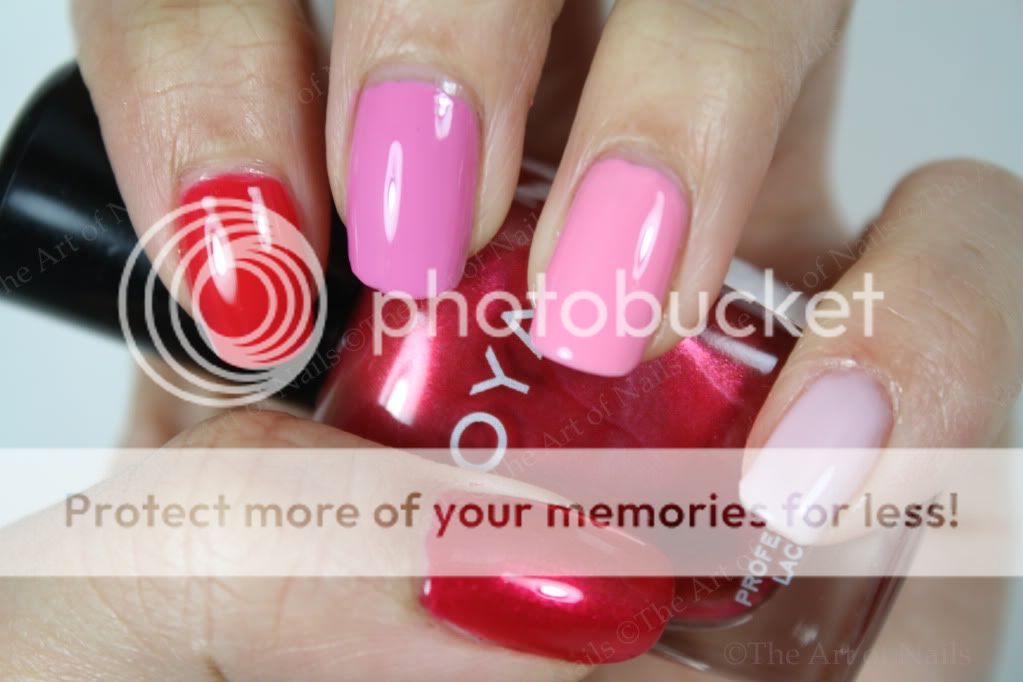

Pink
Gradient Friday (or ombre) from dark to light: Zoya
Valentina / Zoya Max / SkinFood VL001 / Essie Castaway / Essence Sweet as Candy
Pin It Now!
Sunday, October 2, 2011
Sunday Snaps

A quick snap of some colourful and fun Fall trends:
Polishes in Cobalt, Gold, Purple / H&M Hair Ring / Red, Orange, Emerald Polishes
Topshop Raspberry pink trousers / Madison quilted chevron satchel / Grey, Mustard, Nude polishes
Orange adjustable belt / pretty long necklaces / pink helmer drawer – dotted = blogged
Friday, July 29, 2011
Wet Summer Gradient Tutorial
For today's gradient Friday, here is a tutorial on how to do last week's gradient.
Prep: Choose 2 or 3 similar shade colors, one sparkle top, clear nail polish/top coat
1. Paint your nails using your lightest shade polish. I used 2 coats of SkinFood OR004. Let dry.
2. Using your darker shade polish, paint a thick line near the top of your finger.
3. IMMEDIATELY, take your top coat and brush downwards lightly towards the lighter shade. Brush all the way down to where you want it.
4. Repeat step 3, if you want to add another color. Paint a much thinner line this time, very close to your fingertips.Do not worry if it looks a bit lumpy. The finish product will not be.
5. Add your sparkly top coat for a more blended look. Apply a top coat and you are now done! Your nails should now be smooth.
Hope this helped!
 Pin It Now!
Monday, July 25, 2011
Inspired Art
As some of my readers have guessed, I will be travelling to Hawaii for the next week. Not to panic though, as I have queued up some blog post to keep you all occupied.
First up is a nail design I tried, inspired by a nail pamphlet I received from Sephora. I used SkinFood OR004, a creamy yellow with a hint of orange, as my base coat. The formula is a bit on the thick side but 2 coats fixed most of the streaking. Next, I used BM 215 to stamp on a giraffe design using Dr.'s Remedy, Desire Dark Brown. Formulation on this is excellent and so is the opacity when used to stamp. Finally, I taped off the bottom and the top of my nails, and used China Glaze Westside Warrior, a dark khaki green, to paint the middle of my nails. I love this color and the formulation is great as well.
Hope you enjoyed!

 Pin It Now!
Friday, July 8, 2011
Stamping Gradient
Today for gradient Friday, I decided to do something different and make a gradient using my Bundle Monster plate design. I used 2 coats of Color Club Almost Famous as my base coat. Next on the design I chose I painted stripes of each color onto the plate. I started off with the lightest color, SkinFood PK004, a creamy light pink. Next in the middle of the design, I striped another line using Konad Special Pink Polish. Finally, to close off my stamping gradient, I used Wet N' Wild Red Red. After all the polish was on, I scraped off the excess starting from the darkest to the lightest polish and stamped it on. Voila! There you have it. Hope you enjoyed. I used BM-215 plate.

 Pin It Now!
Wednesday, July 6, 2011
New treasures
Here is a post about some nail polish I acquired lately from my friend. She was adamant that she was not going to use them; therefore I was only too happy to give them a new home. She runs a fashion blog named HER WAISE CHOICE and if you have time, check it out! She can re-use clothing articles in so many creative ways that I only wish I could. Perhaps if we both have time, we can coordinate an outfit and nails post!
Also, meet my two new babies! I finally bought two OTTLITE natural daylight lamps for my lightbox. It really does make a difference as you can tell from the haul picture and the ones from my previous post. Although I would love more sun shots, at least I can rely on these when Mr. Sun does not want to cooperate. That is all for now! Thanks for reading. It means a lot!

 Pin It Now!
Friday, June 3, 2011
Circular Gradient Friday
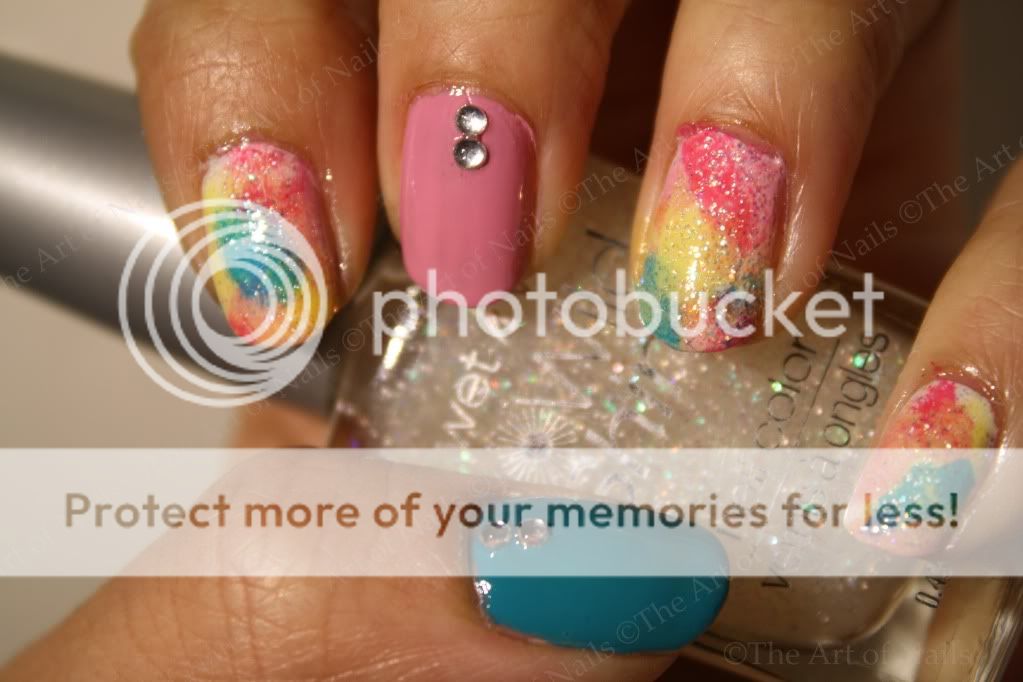
Today's gradient is inspired by a picture I saw in a Japanese nail magazine. It is a circular gradient using the sponge technique. The colors are supposed to emit from the center of the nail. I first started it off with a coat of OPI Alpine Snow as my base. Next, I alternated sponging different colors around my nail, leaving the middle of the nail empty until I was ready to sponge on the centre. The colors I used are the following: OPI Lemonade Stand By Your Man, OPI Sparrow me the Drama, Sephora by OPI Diva in Training, SkinFood BL002 Cream, SkinFood Juice 9. I topped this off with two coats of Wet N' Wild Hallucinate, a clear coat with multicoloured glitter, and a coat of Seche Vite.
For my thumb and middle finger, I used 2 coats of OPI Sparrow me the Drama and SkinFood Juice 9. I added 2 diamond jewels for embellishment.
What do you think of this circular gradient polish addicts? Something you would try or want a tutorial on?

 Pin It Now!
Thursday, May 26, 2011
Spring Cherry Blossoms
I recently took some gorgeous pictures of cherry blossoms when they were in bloom and was feeling that I should transfer them onto my nails. I used SkinFood PK006 from their Jojoba Pure Nail line as my base coat. It is a shimmery light pink that took 3 coats to be opaque and a long time to dry. I had to redo 3 of my nails as it kept smudging when I tried to stamp on my design.
I used BM plate 221 (new set) and a white polish to stamp on the design, Next I added some translucent multicoloured hexagonal flakes in the middle of some blossom to add a bit of sparkle. I sealed it all off with Seche Vite. I really like how this turned out but maybe next time I will try a different shade of pink!


 Pin It Now!
Thursday, April 28, 2011
Sprinkles and icing
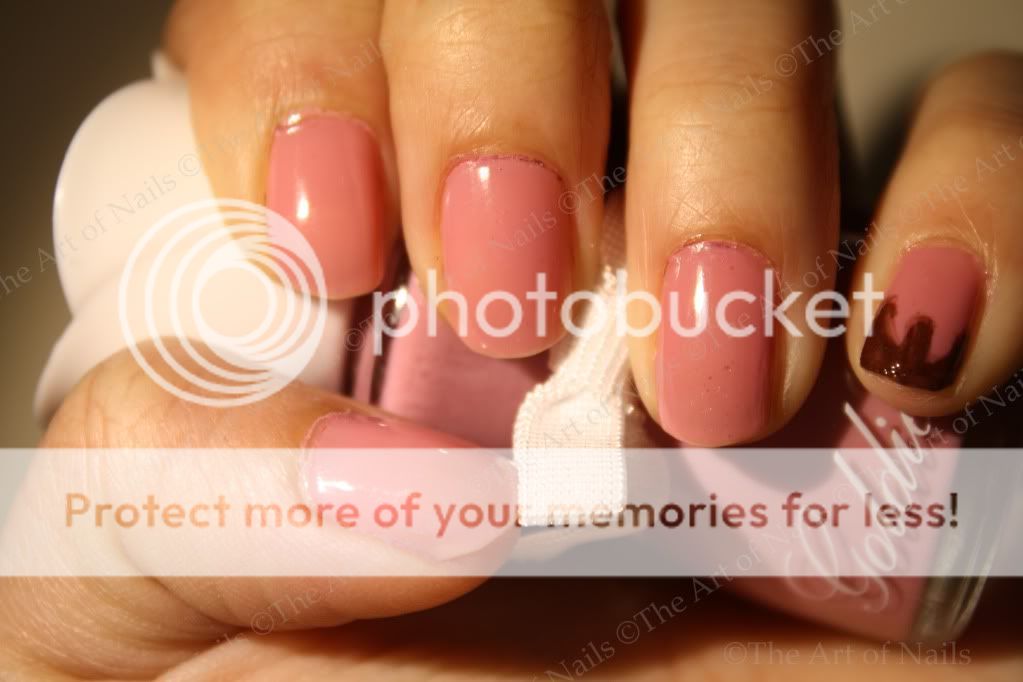
Today I have some yummy nails that my friend showed me a picture of and told me I should try. So here is my attempt at it!
I used two coats of Goldie 02, a light mauve pink as my base coat. Goldie is a new brand I have come across recently. They are advertised to be 3-Free and Vegan friendly. Their formulation is a bit runny and the brush is a little longer than I would have liked, but the color is very pretty and drying time was decent. Sorry about my swatch for the color! I almost forgot to take a picture and started drawing my icing already.
I used Sephora by OPI Dating the Drummer, a shimmery brown, as my icing. For my sprinkles, I used SkinFood PK004, Sally Hansen White On, and OPI What's with the Cattitude?
I have cut down my nails to nubbins for my dodgeball playoffs this week. So you will have to bear with me! Thanks for reading.


 Pin It Now!
Friday, March 11, 2011
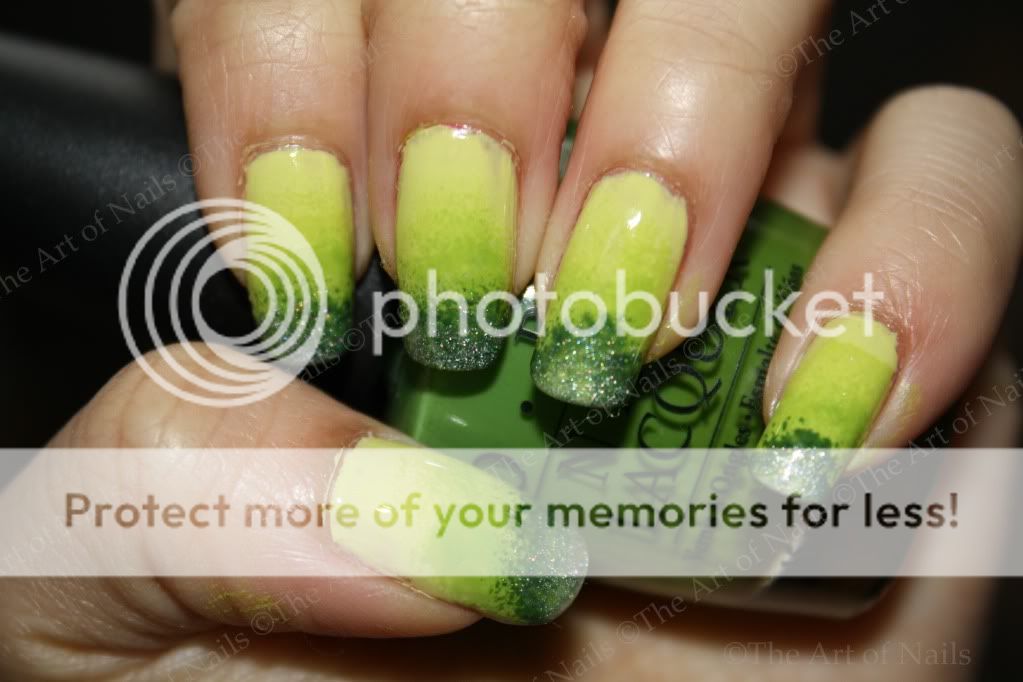
Green Gradient Friday
Polish addicts, I am very excited to announce that today is the first of my GRADIENT FRIDAYS. That is right, you read correctly! Every Friday, hopefully, starting today will feature a nail gradient for you to see and sometimes learn how to do! Since my wonderful friend Maggie gave me this awesome idea, today’s post is dedicated to her and her favourite color.
The polishes I used for this sponge gradient are – from left to right:
SkinFood BL002, Sally Hansen Green with Envy, OPI Green-Wich Village, SpaRitual Twisted Vine, China Glaze He’s going in Circles.
Feel free to make any color combination requests and I will see what I can do!

 Pin It Now!
Thursday, March 10, 2011
Cracked Concrete
During last weekend, I had the pleasure of going to Sallys for the first time and picking up polishes from the Crackle and Tronica line. China Glaze released 6 colors in their color line and I really love their formulation. I am wearing SkinFood OR004 as my base coat and China Glaze Cracked Concrete on top. I love this effect as it is so random. The formulation was super smooth and I like it more than OPI shatter. Polish addicts, make sure your base coat is completely DRY before applying crackle polish, it truly does make a big difference. I topped my manicure off with Seche Vite top coat which I also tried for the first time and am now madly in love.

 Pin It Now!
Wednesday, March 9, 2011
Gotta Paint'em all
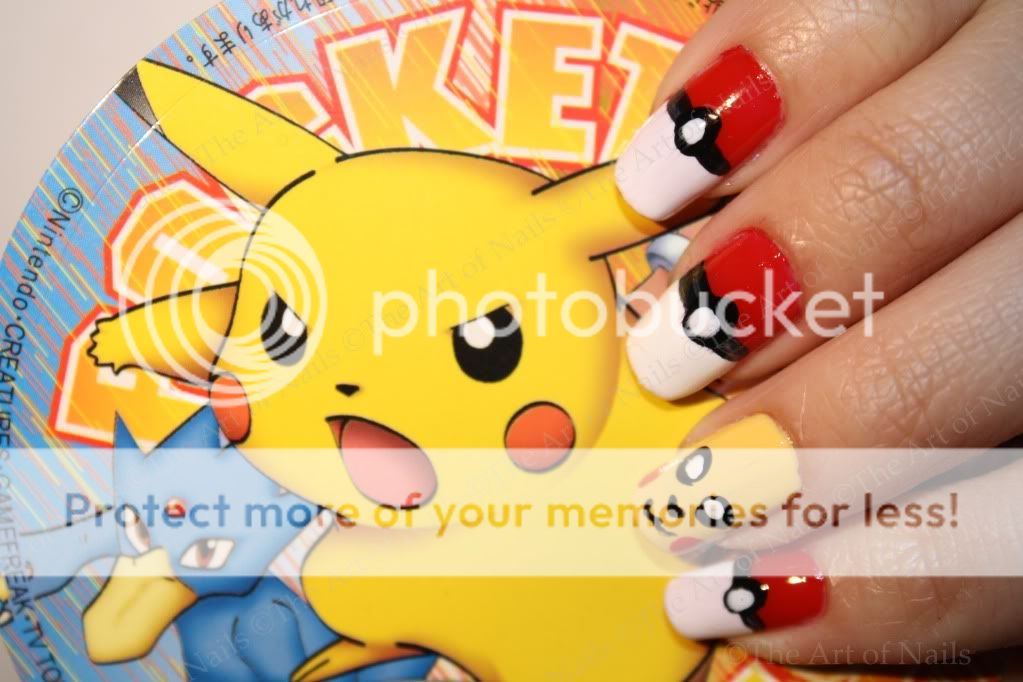
I was talking to my friends this weekend about Pokémon and it inspired me to do a manicure about it. Pokemon Yellow was my favourite game to play on the DS because it was adorable how Pikachu followed you around...anyways...
I painted my base coat with Essie Really Red (Polish addicts, what other awesome reds are there? I do not seem to own any) and painted the top half with OPI Alpine Snow. I used Sally Hansen Black Out to draw the lines. For my ring finger, I used SkinFood OR004 for the base and then painted the face with a brush.
I bought the new crackle polish from China Glaze! I will do a post on them soon. They are AMAZING.

 Pin It Now!
Tuesday, March 1, 2011
Blue Gradient
I was looking through my photos and I found a subtle blue gradient I did a while back. Aside from the Sally Hansen HD 02 that I am holding in the picture, I genuinely do not remember what else I used.
*EDIT* found a note I wrote about this manicure! I used SkinFood BL004, ChinaGlaze 2Nite, OPI Russian Navy, and OPI Catch me in your Net and topped it off with dollar store sparkles
 Pin It Now!
Monday, January 10, 2011
Scotch tape stars
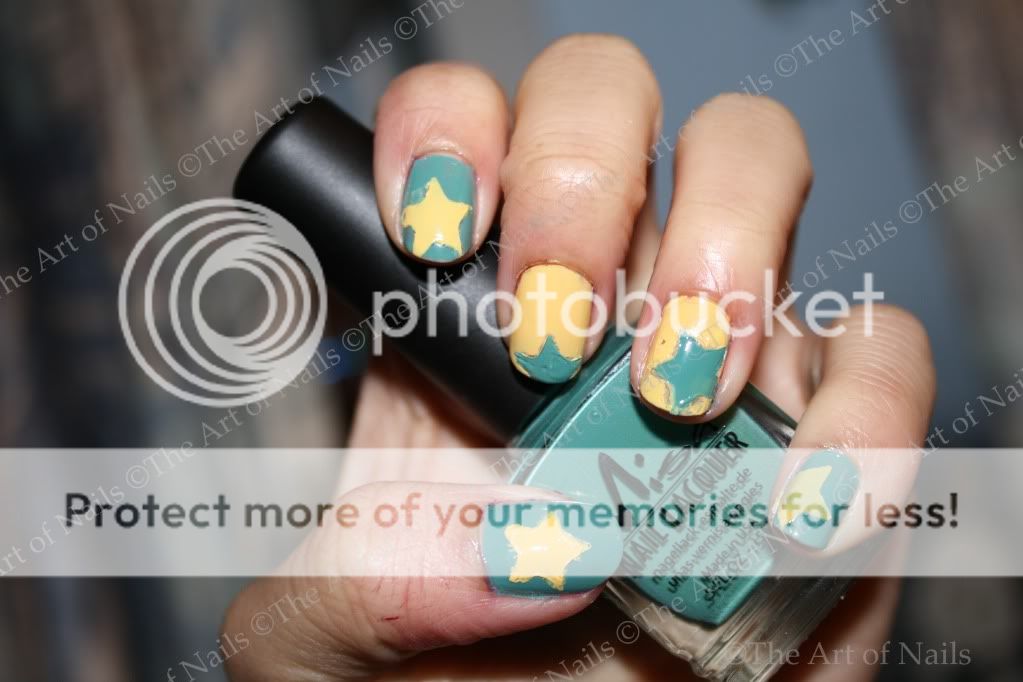
I read a blog and a magazine article on punching a shape on scotch tape, applying it to your nail, and then covering it with nail polish. I thought this was a great idea, so I attempted to try it on top of my Misa Dirty, Sexy, Money. I punched out stars and painted them with SkinFood OR004. I did like the color combination, but I thought the shape I used was a little small so it did not turn out the way I wanted it to look. I will definitely try this technique again using a different shape.
Great fun way to add a design to your nails isn’t it?
Wednesday, January 5, 2011
Pretty in Pink
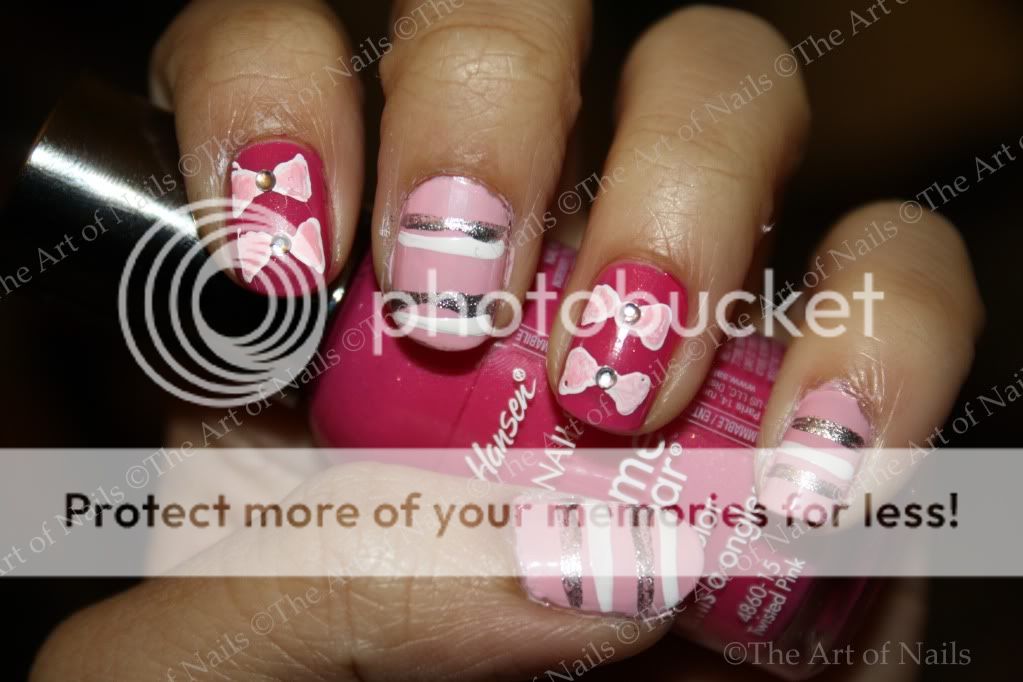

Here is a design that I decided to do yesterday – it is not one of my favourites, but with the right outfit, it still looks pretty cute. I used SkinFood PK004 on my thumb, middle, and pinky finger as my base coat. On my index and ring finger, I used Sally Hansen Xtreme Twisted Pink. For the designs I used Sally Hansen Xtreme White On and China Glaze Cheers to you. For the finishing touch, I added jewels in the center of the bows to make it more feminine. I have been flipping through some nail magazines during the holidays and there are some new ideas I would like to try out when I find the time. Thanks for reading J
Tuesday, September 21, 2010
Glee
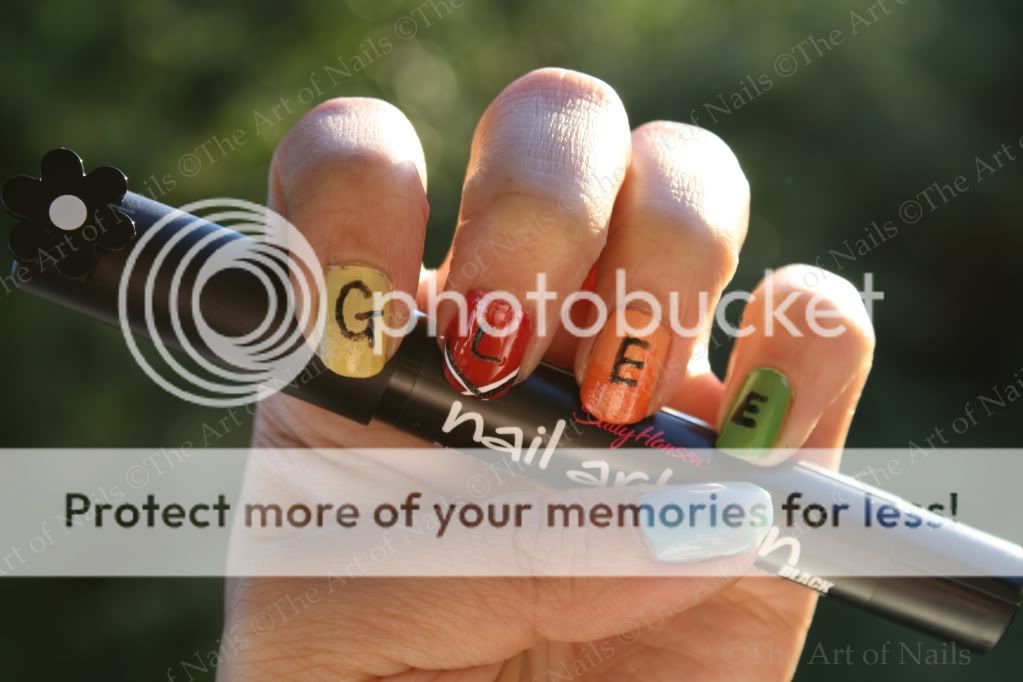

These are my glee inspired nails! Season 2 kicks off today and I cannot wait. I love this show and the music is just wonderful. I picked the closest colors I have to their promo picture backgrounds and tried to copy the cheerleader uniform design for the middle finger. For the index and fourth finger, I sponged on a darker shade near the tips to get the "slushie" splash effect.
From thumb to pinkie: OPI Whats with the Cattitude, OPI Banana Bandanna, SkinFood OR 004, Essie Really Red, SkinFood OR 005, OPI Orange you glad it's Summer, China Glaze Tree Hugger
Text: Sally Hansen black 02 nail art pen
Going to get ready to go watch glee! Thanks for dropping by!
PS- In case you were wondering, I did read the article about SkinFood nail polishes and the how they might be toxic. However, as with all studies, just because it's valid does not mean it's reliable. Therefore, I will wait for more studies to come out before I cast a judgement on whether I should throw these polishes away.
Sunday, August 1, 2010
Pink Batch 1
With so many weddings coming up and the pink nail polishes I have, I've decided to show you a couple each time. I have recently starting swatching my nail polishes on nail boards, and labelling them. I tried to capture the color as accurately as possible, but forgive me if there are some discrepancies. Okay, here is the first batch!
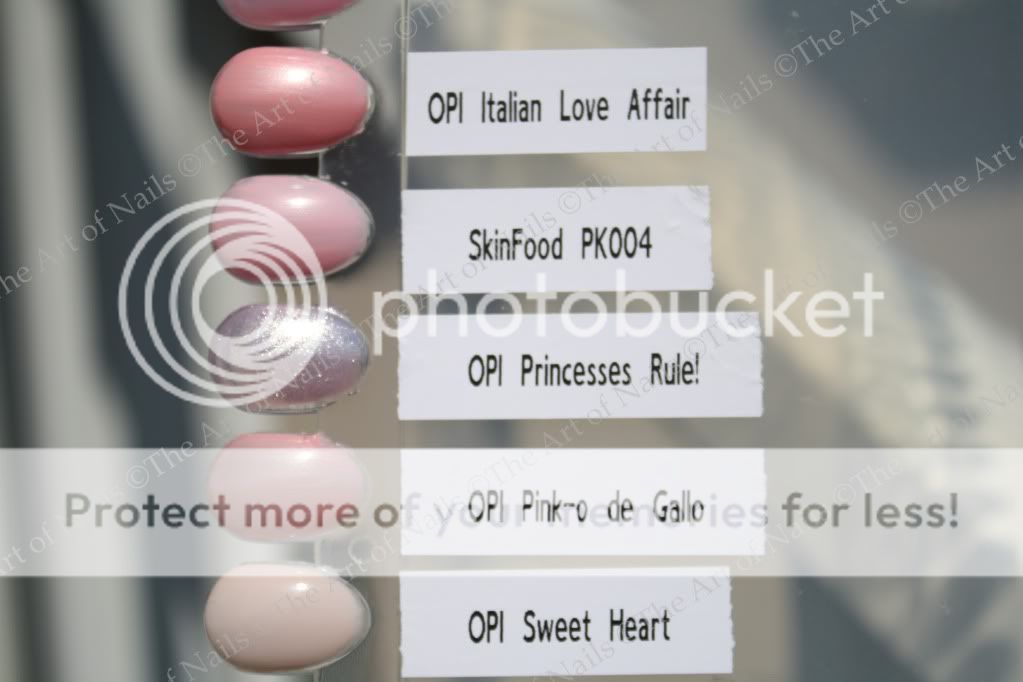

And here is what it looks like in the bottles:

From left to right: OPI Italian Love Affair, SkinFood PK004, OPI Pink-O De Gallo, OPI Princesses Rule!, OPI Got a Date To-Knight! (not swatched above, will be part of the next batch)
That's all for today! Have a nice long weekend if you are in BC :) Thanks for dropping by.
Pin It Now!
Subscribe to:
Posts (Atom)