
 Pin It Now!

 Pin It Now!
Here is another simple but stunning Halloween manicure! I really like how this looks. I started off with one coat of Sally Hansen Black Out. Next, I layered on 2 coats of Wet N' Wild Behind Closed Doors, which is a red base polish with hexagonal and fine glitter. This polish is another one from their On the Prowl collection and the formulation was okay. You need to roll this polish a couple of times before you use it, otherwise the red hexagonal glitters don't end up on the brush. Thanks for reading!
 Pin It Now!
Here is my first Halloween nail design! I used 2 colors from Wet N' Wild On the Prowl collection. I also included some swatch pictures of each color as well. I used 2 medium coats for each polish and each covered quite well. The brushes are meh, and I do not really like them, but for 2.99 I can't really complain. The colors are GORGEOUS. Cougar Attack is a brown based polish with copper shimmer. Ready to Pounce is a dark vampy purple with magenta shimmer. I almost passed on this one like I passed on Jungle Fever and Ink Well, but am so glad that I didn't. This one is a beauty.
I used Ready to Pounce as my base coat and sponged on Cougar Attack on the tips. Finally, I used Konad White to stamp on a pumpkin and a bat. More designs to come!
 Pin It Now!
I am so excited to show you this nails inc. magnetic polish! I have been waiting for this polish ever since I first saw the promo pictures. This gorgeous dark magnetic polish is called houses of parliament. To apply magnetic polish you first have to put on one coat and let it dry. Next, you will have to polish each finger one at a time. Put on a second thicker coat and IMMEDIATELY put the magnet on top of it. Hold this for 10 secs. Lift up the magnet and put on a top coat. Repeat for the rest of the fingers. Remember that you will have to do each finger individually when the polish is still wet.
I love the application of this polish and the design of the bottle. This polish comes with the magnet and the cap is removable for ease of use. There is also a cuticle ledge on the cap so it makes it easier for you to hover the magnet on top of your finger without touching the polish itself. The effect of this polish is super mesmerizing and I would definitely recommend for you to pick one up!


 Pin It Now!
New way to organize my scarves / Polishes from Wet N' Wild On the Prowl collection / Loreal Carbon Black Lineur Intense
 Pin It Now!
For today's gradient Friday, I wanted to use some colors from ColorClub Foiled set that I recently picked up at Winners. I started out with nails inc. Victoria which is a burgundy red jelly color. The formulation on this was a bit watery compared to the other polishes I have tried from this brand, but it smooth out nicely after I applied a second coat. I think this color is quite nice for fall.
Next, I used Color Club Perfect Mol-ten, Antiquated, and Hot like Lava to make my gradient dots. I used my dotting tool and started off with the darkest color moving towards the lightest color. I sealed this all off with a coat of Seche Vite and was happy with how it turned out. Have a great weekend my lovely readers!
Nails inc. polish was sent to me for review. All opinions are my own.


 Pin It Now!
Here is another fun and cute short nail design. I did a neutral colored leopard print French tip on my nails to trick my nails into thinking that they have some time off from nail polish. First I used nails inc. Porchester square, mushroom taupe cream, to freehand some French tips. Next, I used OPI You don't know Jacques!, taupe cream, and dabbed on random sized spots all inside the French tip. Finally, I used Sally Hansen nail art pen in Black to outline some of the sides around the spots to make it look like a leopard spot. I added a bit of gold using Sally Hansen nail art pen near the smile line. I sealed this off with a coat of Seche Vite and voila! Done.
I am enjoying doing short nail art designs more than I though, would you like to see more? Thanks for dropping by.

 Pin It Now!
Here is part 2 of Nicole by OPI Holiday Glitters. First up is Orna-Ment for Each Other, which is a glittery red color filled with gold and green fine glitter. This one reminds me lots of Christmas! This took 2 coats for full coverage. Isn't this pretty?
Last, but not least, is Snow-Man of my Dreams, which is a glittery blue packed with rainbow colored fine glitter. It reminds me of Christmas parties and New Year celebrations. Super festive. The formulation was a bit sheerer for this color but still quite opaque, this took 3 to achieve full coverage.
Although this collection is quite small, I think they made some winners. My must have for this collection would have to be Glitter in my Stocking as red and gold are so great together and I have yet to see anything like it! However, if you are making a wish list for Christmas, I would definitely put all 4 on this list! Polish Addicts, which ones were your favourite?
Polishes were sent to me for review. All opinions are my own.
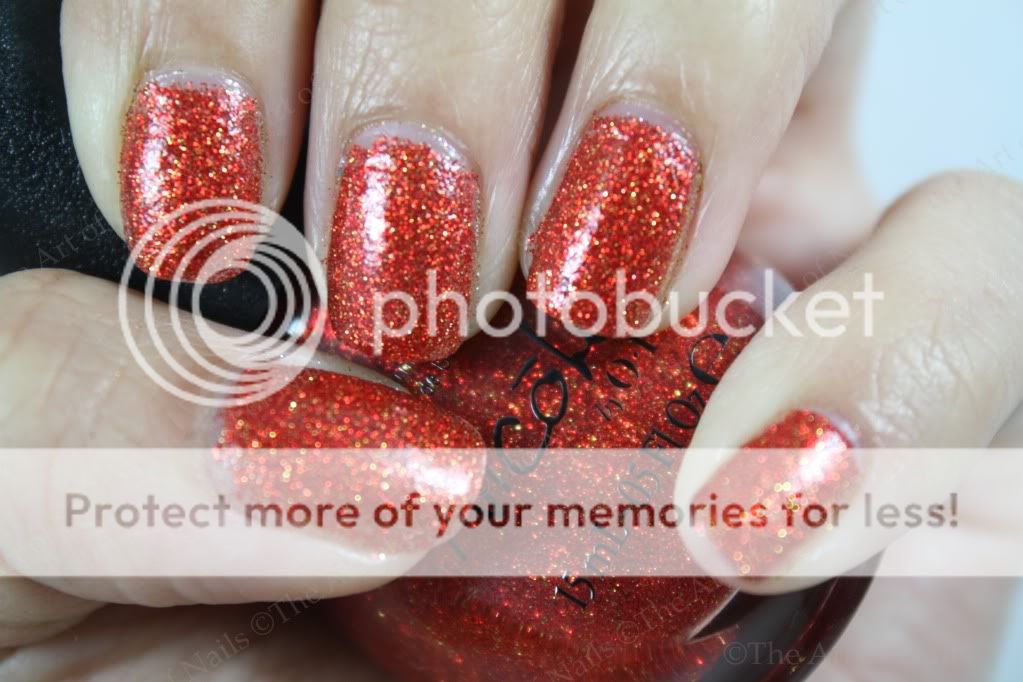
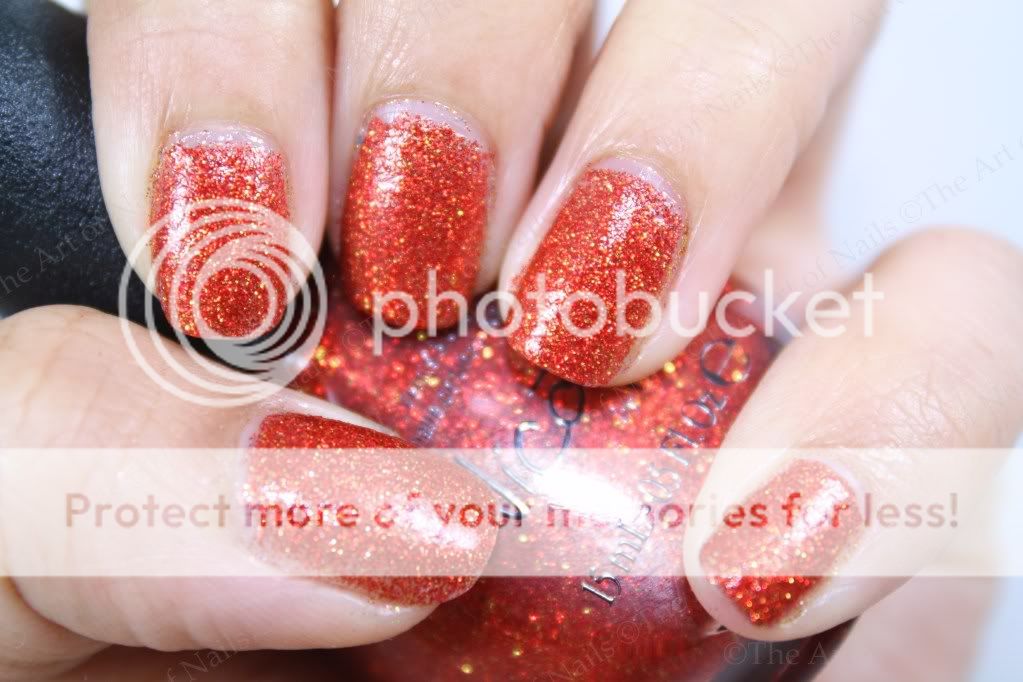
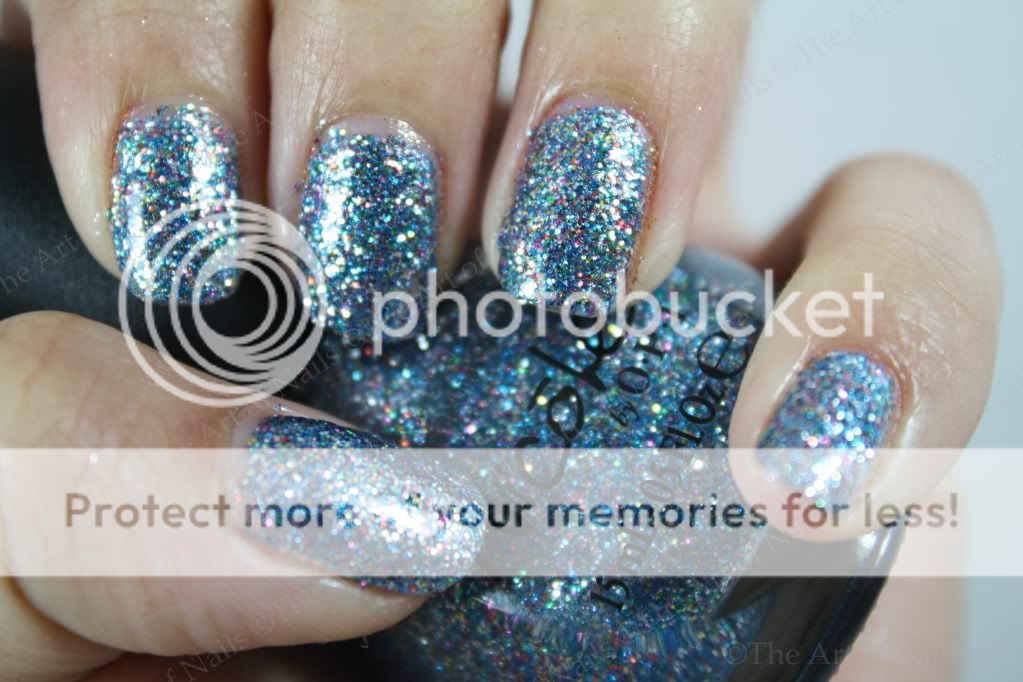
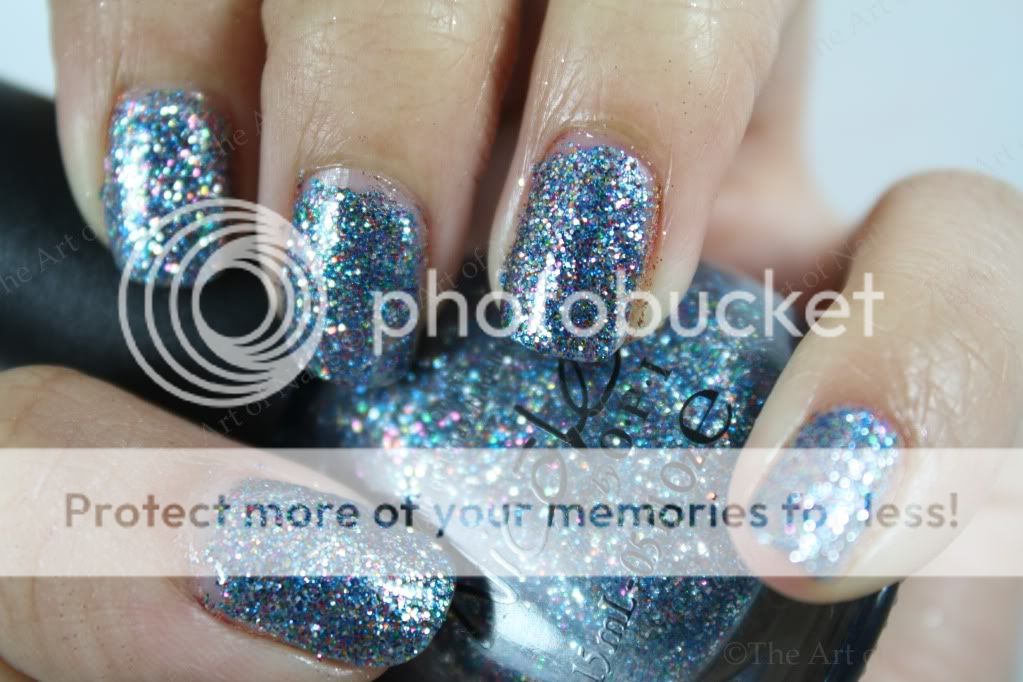 Pin It Now!
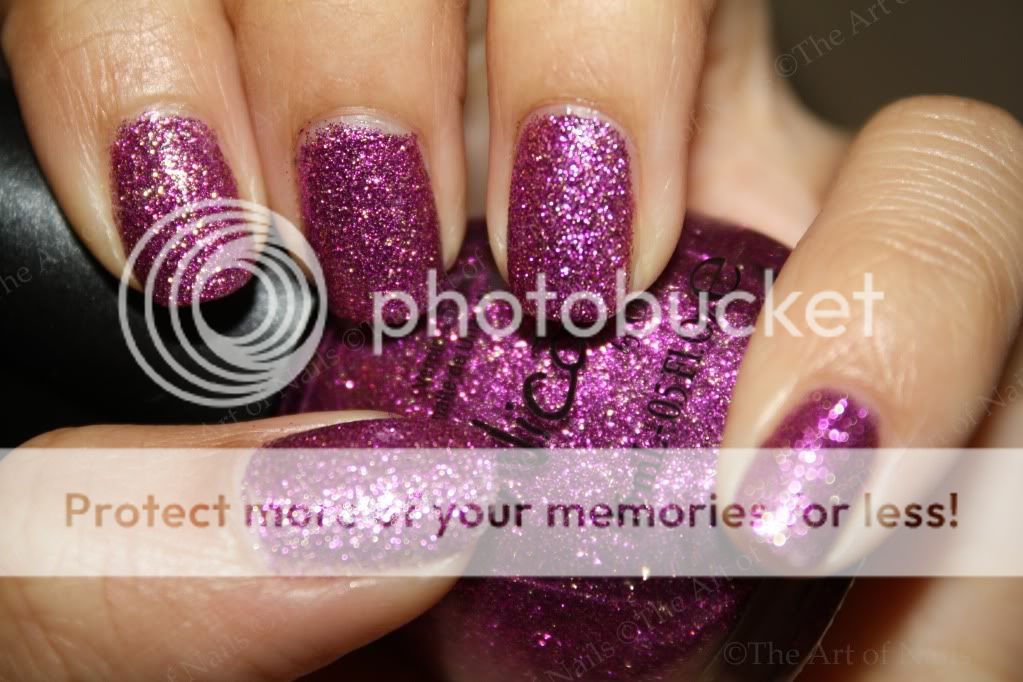
I am super excited to show you part 1 of 2 of Nicole by OPI Holiday Glitter 2011 collection. Here are the swatches. First up is My Sleigh's in the Shop which is a pretty darker magenta glitter polish filled with pink, silver, and purple fine glitter. I swear I took 100 pictures but could not for the life of me capture the real color. These are the closest I could get them to because the camera really picks up on the pink glitter. In real life, this polish is a bit more purple in color. Following this is Glitter in my Stocking, which is a gold glitter polish filled with gold and red fine glitter. This one was very pretty and I very much appreciated the pop of red.
Both these polish applied wonderfully and full coverage was achieved in 2 coats. I added a coat of Seche Vite to finish off both looks. These are great to wear to any Christmas gathering! I cannot wait. Stay tuned for part 2 of this collection.
Polishes were sent to me for review. All opinions are my own.


 Pin It Now!
Today's gradient Friday is a bit late, so I apologize. Hopefully it is still Friday somewhere in the world? Life has been pretty hectic lately, so time has been tight. This week I did a simple glittery gradient using Nails inc. Fitzroy square, a glittery polish with coarse and fine blue glitter and some fine green glitter.
For this gradient, I just split the top half of my nail into four parts, and kept adding another coat to create the gradient effect. This polish applied really nicely and I enjoyed using it. The formulation was nice and the glitter is just so pretty! I am definitely using this over other colors soon! This is part of nails.inc special effects line, so it is meant to be layered, but can stand alone by itself as well I find. Cheers!
Polish was sent to me for review. All opinions are my own.

 Pin It Now!
Here is the first of my short nail designs. I used 2 coats of Revlon Scented polish Pretty in Papaya, a very pretty papaya orange cream which applied very well. It smells really nice too, fruity and fresh. The picture shows two coats with no top coat (sorry, I smudged it a bit). Next, I wanted to do a simple design on top with my dotting tools. I used OPI Mummy Knows Best for my white dots. I dotted different sizes along the side of my nail. Hope you enjoyed!

 Pin It Now!
Recently, there was a deal for a mani and pedi near me, so I thought I would go since my heels are still quite dry from Hawaii. The massage, scrubs, and moisturizing treatments were good but the polish application left a bit to be desired. Also, due to this visit, my nails have become nubbins. So please bear with me as I swatch with nail wheels and think of cute short nail designs!
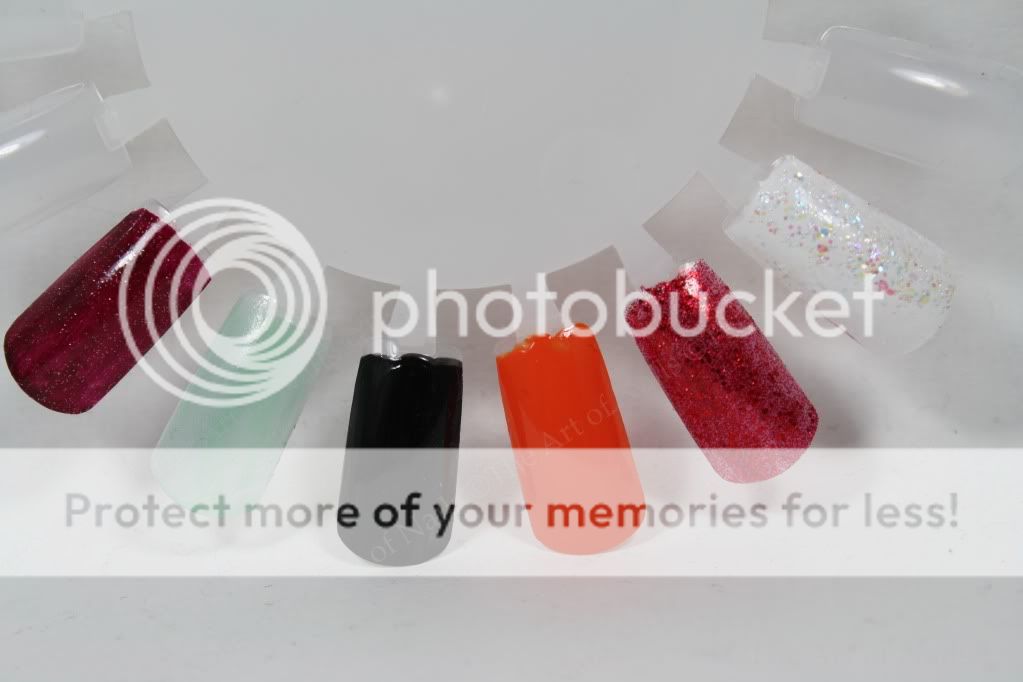
Here are some quick swatches some colors from China Glaze Metro line. The formulations on these were good, and all four required 3 coats to be opaque. From left to right: Urban Night (a pretty reddish purple cream, reminds me a bit of eggplant) / Midtown Magic (brownish black with red, gold, and green shimmer) / CG in the City (clear base with purplish hue and multicoloured glitter) / Skyscraper (medium blue with blue and silver glitter)
For a look at another CG Metro color, click here. I love this one the most!

 Pin It Now!
For today's gradient Friday, I decided to recreate a runway nail look I saw. I used 2 coats of Sally Hansen Blue me Away!, a bright cream blue as my base coat. Next, I gently sponged on Sally Hansen Black Out near the base of my nails, creating a bold gradient look. What do you all think?
Happy early Thanksgiving to all my Canadian readers. Enjoy the long weekend!

 Pin It Now!
Today I am going to show you a cute and fun reverse chevron design I did to match my raspberry pink trousers. I used 2 coats of Julep Miranda, a pretty seafoam green cream, as my base coat. The application was smooth and it dried well although it did dent a bit when I was taking photos (pinky). Next I used a piece of scotch tape and turned it so it looked like a triangle. I stuck this on my palm first (to get rid of some stickiness) and then applied this on the bottom of my nail. Finally, I put on 2 coats of Zoya Sachi, a gorgeous dark pink, to finish off my look. The application was super smooth and this color is very opaque. I topped this manicure off with a coat of Seche Vite.
I think the design is so cute and adds such a nice pop of color to your outfit!


 Pin It Now!
Here is a quick look at my medium size-ish haul today. I picked up the mini Halloween set of OPI (love the glow in the dark!), 2 polishes I was eyeing from China Glaze Let it Snow collection, and some CND polishes that caught my eye today. I also did some quick swatches!
From L to R: CND Plum Truffle & Effect / OPI Zom-Body to Love / OPI I Only Date Werewolves / OPI Hes My Boo / CG Ring In the Red / OPI Mummy Knows Best with CG Snowglobe (my favourite Christmas polish thus far!) layered on top

 Pin It Now!
It has been awhile since I wrote about some makeup. Here is a couple that I have recently tried:
Mary Kay hand cream is a nice peach scented hand cream that feels nice and moisturizes quite well. It absorbs into the skin quickly and I really like this! You can buy this here.
EOS lip balm smooth sphere in summer fruit and EOS everyday hand lotion are products that I am super happy I tried. I am always looking for moisturizing lip balms and hand creams, and really, who can ever have enough? The lip balm smells delicious and applies oh-so-smooth, while the hand cream smells nice and absorbs great. These babies switch bags with me every day.
Dr'.s Remedy Enriched Instant Cover is a concealer made for the body that is advertised to cover tattoos and spidery veins. I was intrigued to try this and went for the medium skin tone shade. I do not have any tattoos, but spidery veins and blemishes I do have, so I tried this out. This product has great coverage and it is also buildable. It truly does cover up almost anything! The only bad part is the applicator. It comes in a squeeze bottle with a sponge applicator tip. I found it hard to squeeze the product out from the sponge and therefore opted to take off the sponge and only use it for blending. Although it is not recommended for the face, I did try some on my face and it worked. You can buy this on their website and inquire more on their Facebook page.
What are some makeup products you have tried recently? Anything that you would buy again?
Dr'.s Remedy Enriched Instant Cover was provided to me for review. All opinions are my own.
 Pin It Now!
A quick snap of some colourful and fun Fall trends:
Polishes in Cobalt, Gold, Purple / H&M Hair Ring / Red, Orange, Emerald Polishes
Topshop Raspberry pink trousers / Madison quilted chevron satchel / Grey, Mustard, Nude polishes
Orange adjustable belt / pretty long necklaces / pink helmer drawer – dotted = blogged