
It
has been awhile, with the holidays and all, but without further ado here is week
2 of Polished Style. Today's feature pairs funky runway chevron nails with an everyday
outfit to make it very wearable and chic. Jen does a great job of pairing
colors, textures, and patterns with this nail design, so be sure to check out
more fashion pictures here. We used a classic navy and white color scheme for
this nail design and chose to do both a single chevron design and a layered
double chevron design. Look below for a tutorial on how you can create the
layered double chevron look yourself at home!


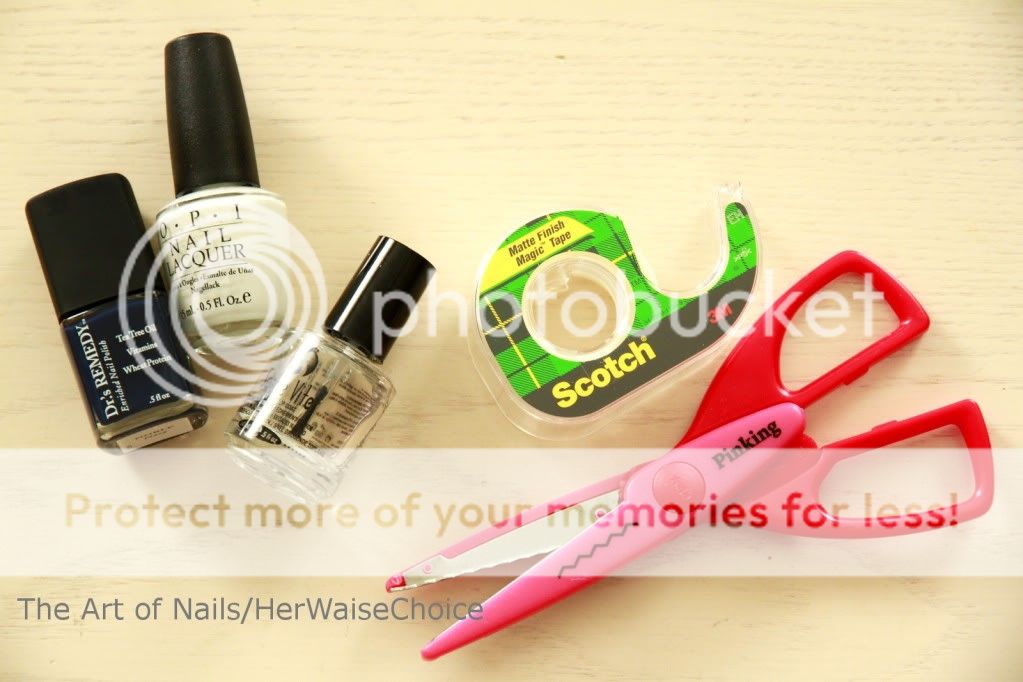
Materials
(from left to right) : Dr.'s Remedy Noble Navy / OPI Alpine Snow / Seche
Vite Top Coat / Scotch Tape / Zigzag craft scissors
Prep:
Start by painting on your choice of base coat.
1.
Paint your nails with your base color. I used one coat of Drs Remedy Noble Navy.
2.
Peel off a piece of tape and cut along the edge using your zigzag scissor.
Stick on your palm before applying it to your nail. Be sure to press down on
the edges. Paint contrasting color on top. I used OPI Alpine Snow.
3.
Pull tape away from you immediately after applying the polish. The polish MUST
still be wet in order for you to get a clean edge. Paint over with a coat of Seche
Vite (Very important, otherwise drying time will be long).
4.
Repeat step 2 once polish is dry. Use your base color this time. Remember to
pull tape off immediately.
5.
You now have 3 layers. Apply another coat of Seche Vite. You can stop here if
you wish. Otherwise, onto step 6!
6.
Repeat step 2 one last time. Don't forget to stick the tape on your palm before
adhering to your nail. Finish off with a coat of Seche Vite. Your design is
done!
Very nice!!! :D
ReplyDeleteI need to get scissors like that!
ReplyDelete